Integration with Clay
Integrate EmailVerify.io with Clay to validate email addresses directly in your Clay tables while building lead lists. This ensures that your outreach focuses only on high-quality, verified contacts, helping reduce bounce rates, protect your sender reputation, and save time on data management.
With EmailVerify.io, you can review verification results instantly within Clay, making your contact data actionable and reliable before any outreach.
Prerequisites
Before setting up the integration, ensure you have:
- An active Clay account
- An EmailVerify.io account with available credits
- Access to your EmailVerify.io API Key
Step-by-Step Integration Setup
Follow these steps to connect Clay with EmailVerify.io securely and start verifying emails directly inside your tables:
Step 1: Sign in to EmailVerify.io
Sign in to your EmailVerify.io account at app.emailverify.io and navigate to the API section to manage your credentials.
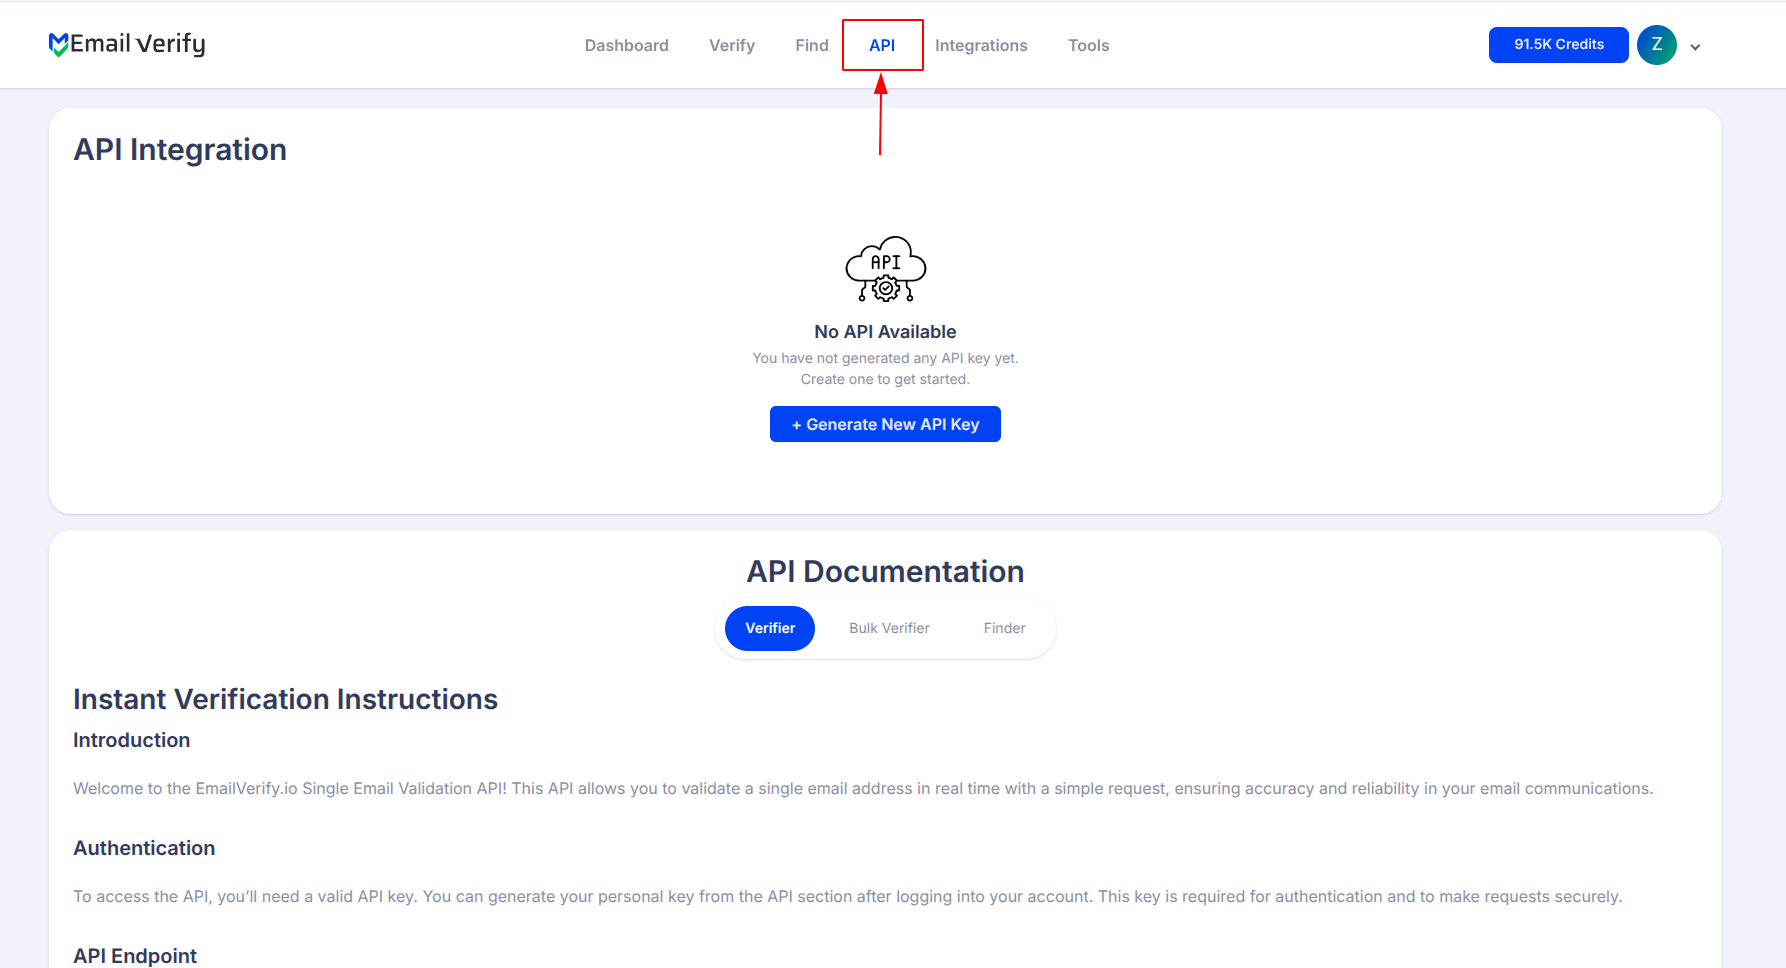
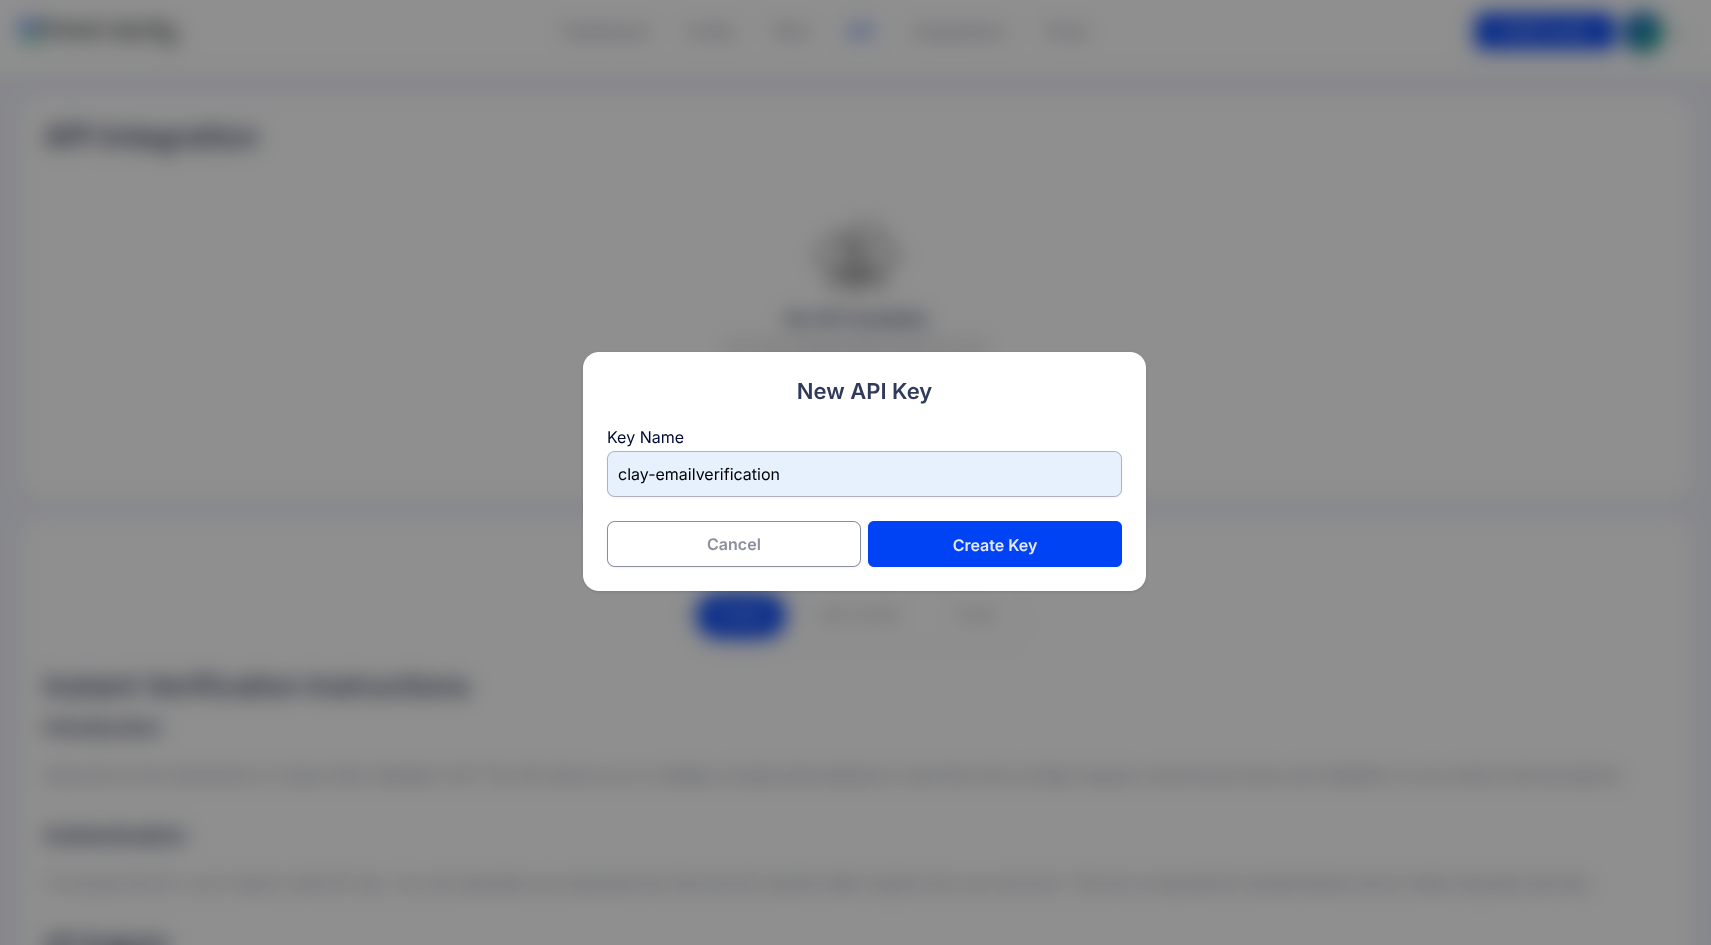
Step 2: Generate API Key
Click Generate New API Key to create a unique key. This key will allow Clay to securely access EmailVerify.io for validation requests.
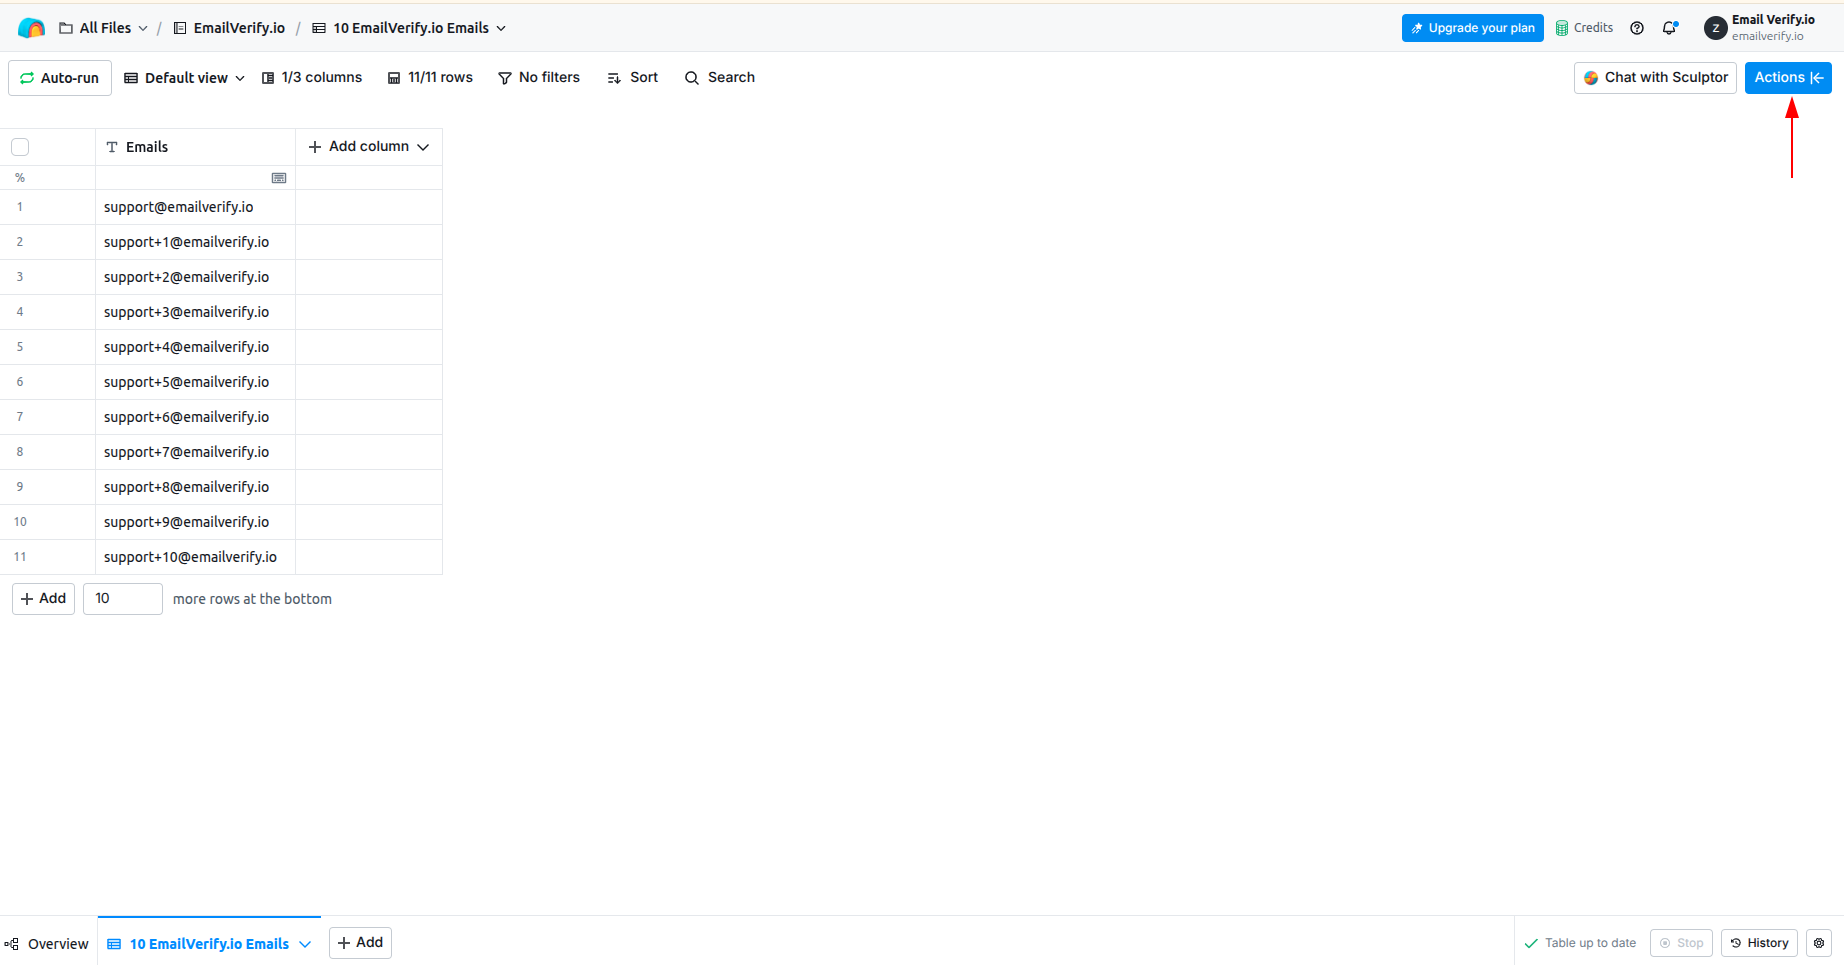
Step 3: Go to Clay Table
Open the Clay table containing the contacts you want to verify. Click on Enrich Data or Add Enrichment to begin the integration setup.
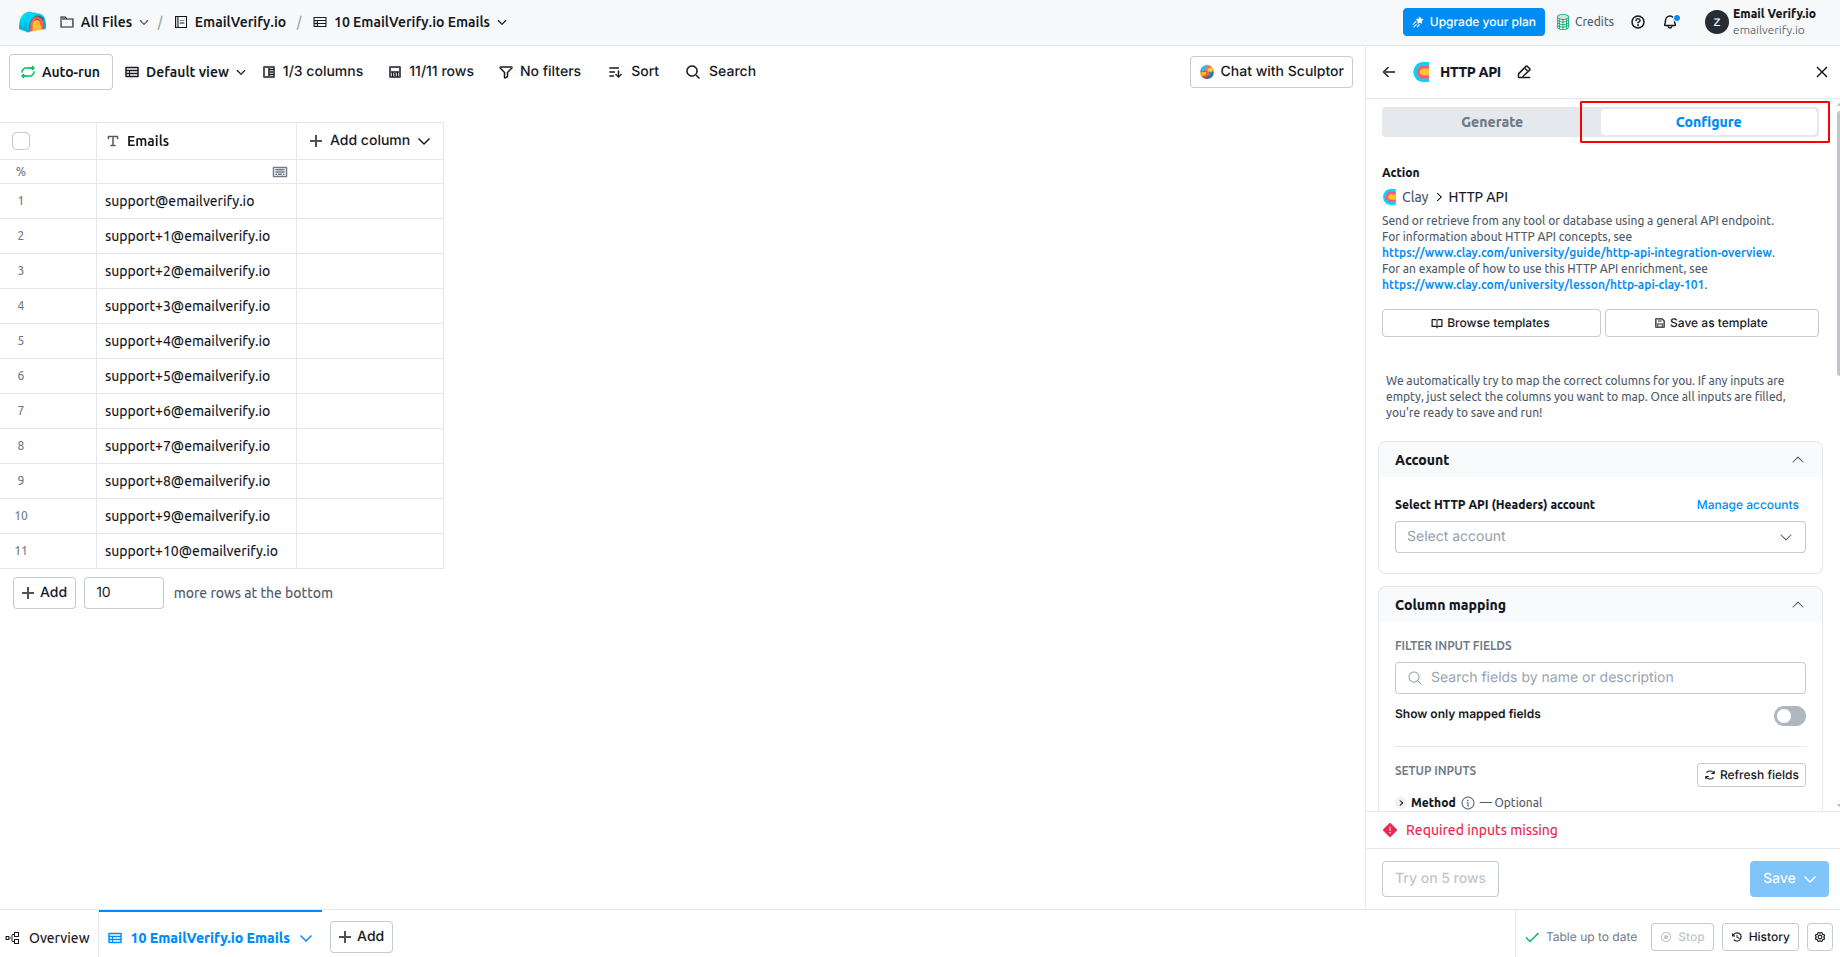
Step 4: Search for HTTP API
In the enrichment search bar, type HTTP API and select it to enable secure API connections.

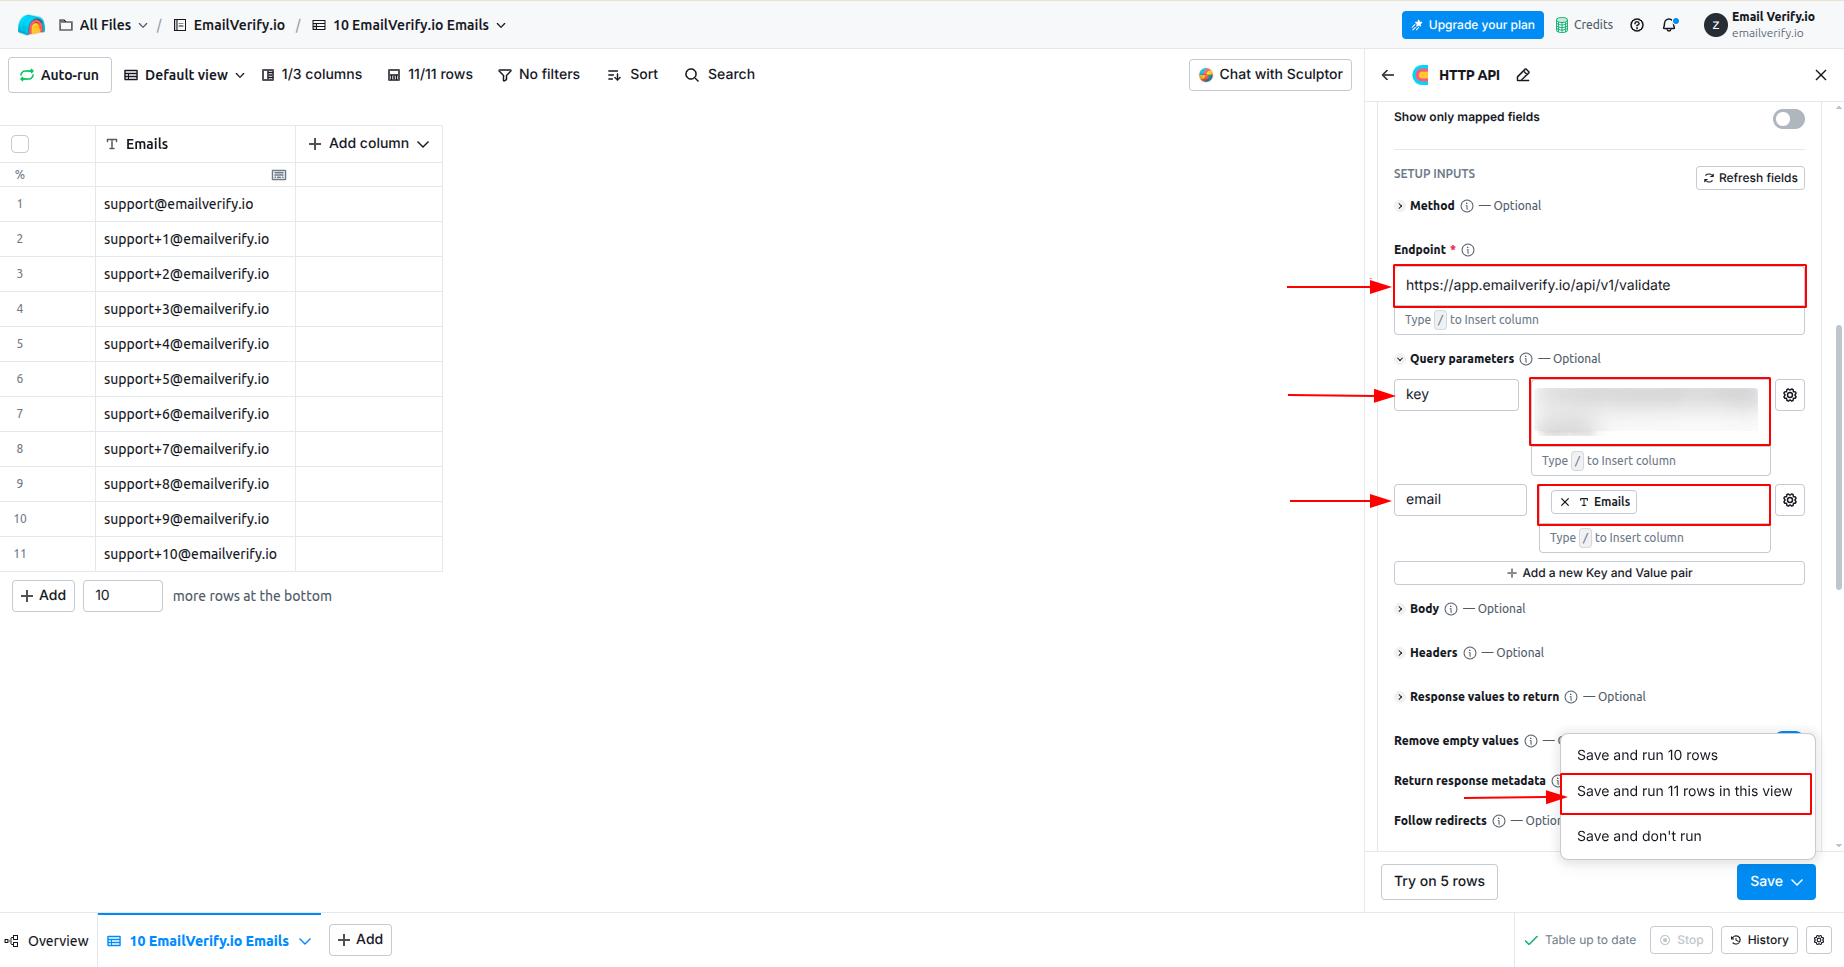
Step 5: Configure API Request
Set the request method to GET. In the endpoint field, enter:
https://app.emailverify.io/api/v1/validate
Step 6: Set Parameters & API Key
Add the API Key parameter (apikey) and map the email parameter to your email column (tip: press / to choose your email column easily). Click Save and Run to start validation.
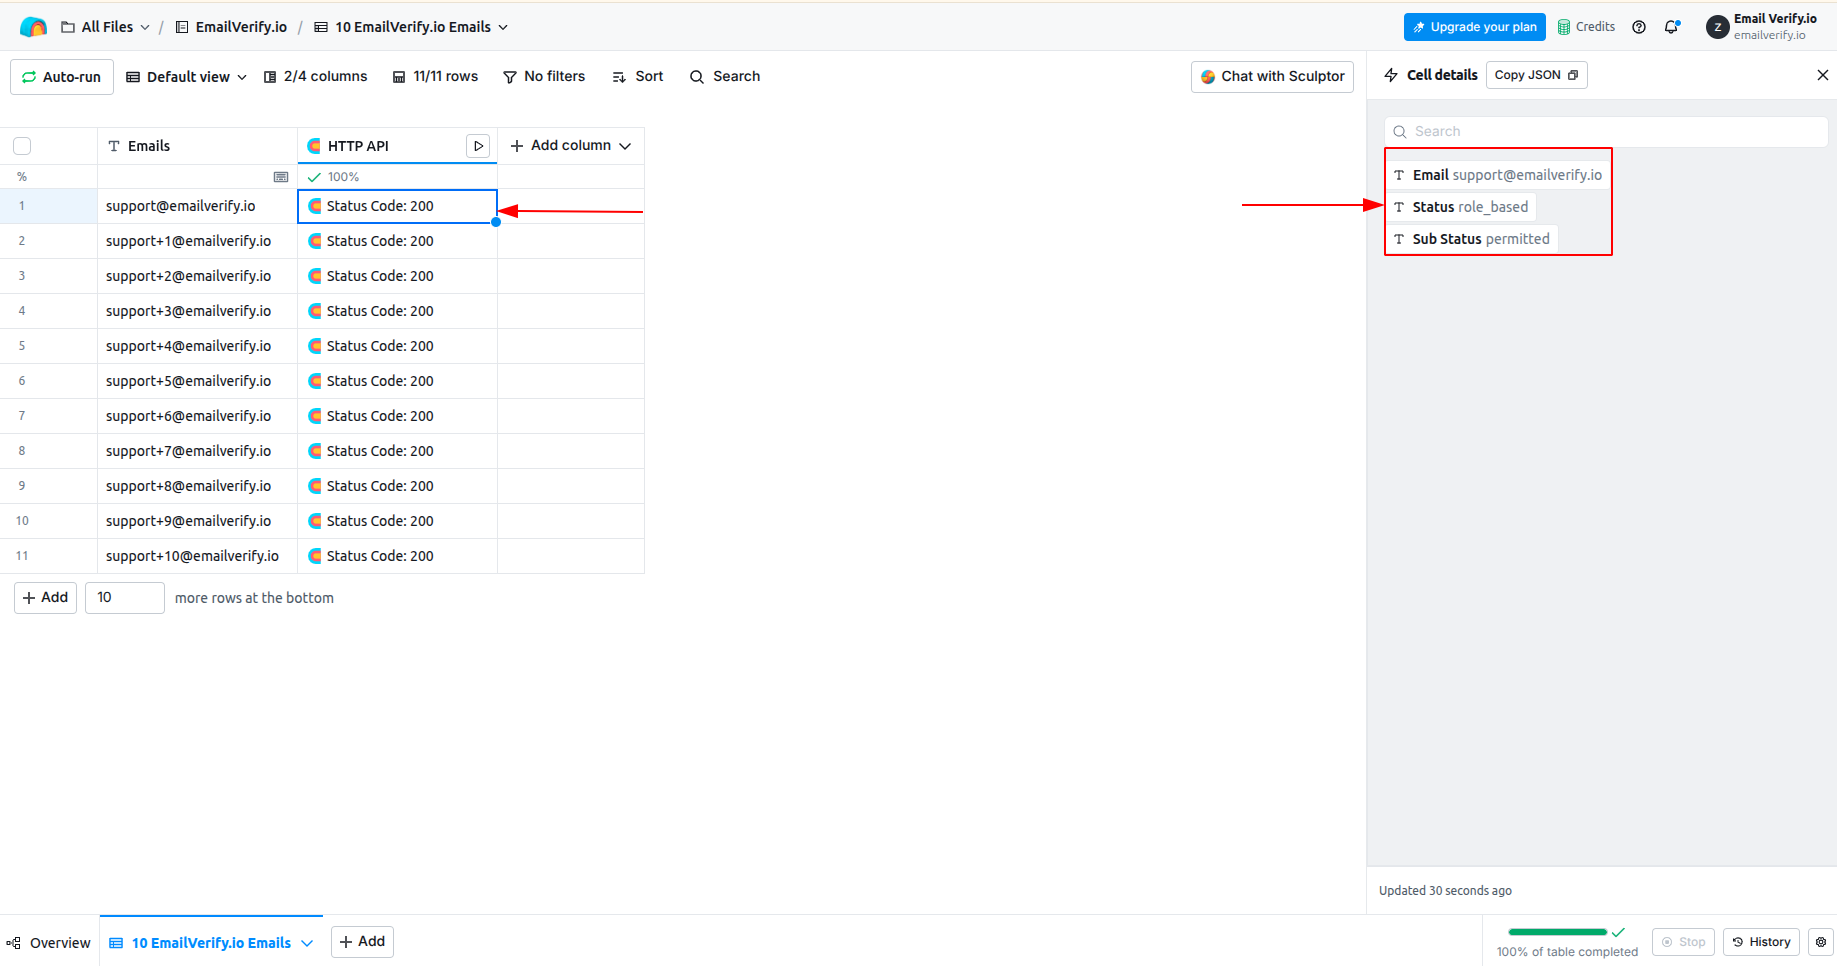
Step 7: View Verification Results
Results will appear in a new column in your Clay table. Expand each object to see Status and SubStatus, helping you quickly identify valid, risky, or invalid emails.
Your Clay integration is now set up and ready. Emails in your selected Clay tables will be validated in real time, allowing you to focus on verified, actionable contacts for smarter outreach.
Troubleshooting & Tips
To make sure your email verification runs smoothly and you get accurate results, keep these helpful tips in mind:
- Ensure the EmailVerify.io API Key is correctly copied and active.
- Refresh the Clay table if results do not appear immediately after running the API request.
- Map the correct email column to avoid mismatched results.
- For large tables, verify emails in smaller batches to prevent processing delays.
- Regularly validate new contacts to maintain high-quality, deliverable lists.
Next Steps
Prioritize High-Quality Contacts in Clay Now!
Validate emails in real time to prioritize high-quality leads and focus outreach on responsive contacts.