Integration with Klaviyo
The EmailVerify.io and Klaviyo integration allows you to validate contact lists directly from your Klaviyo account. By verifying addresses before sending campaigns, you reduce bounce rates, protect sender reputation, and improve deliverability.
Once connected, you can:
- Import Klaviyo lists into EmailVerify.io
- Run bulk verification
- Automatically sync validation results back to Klaviyo
All without manual exports.
Prerequisites
Before starting, ensure you have:
- An active Klaviyo account
- An EmailVerify.io account
- Permission to authorize third-party integrations in Klaviyo
The integration uses secure OAuth 2.0 authentication. Your login credentials are never stored or shared.
Step-by-Step Integration Setup
Here’s how to link Klaviyo with EmailVerify.io and start keeping your lists clean.
Step 1: Log in to EmailVerify.io
Start by logging into your EmailVerify.io dashboard. Once you’re in, head over to the Integrations section, where all available connections are listed.

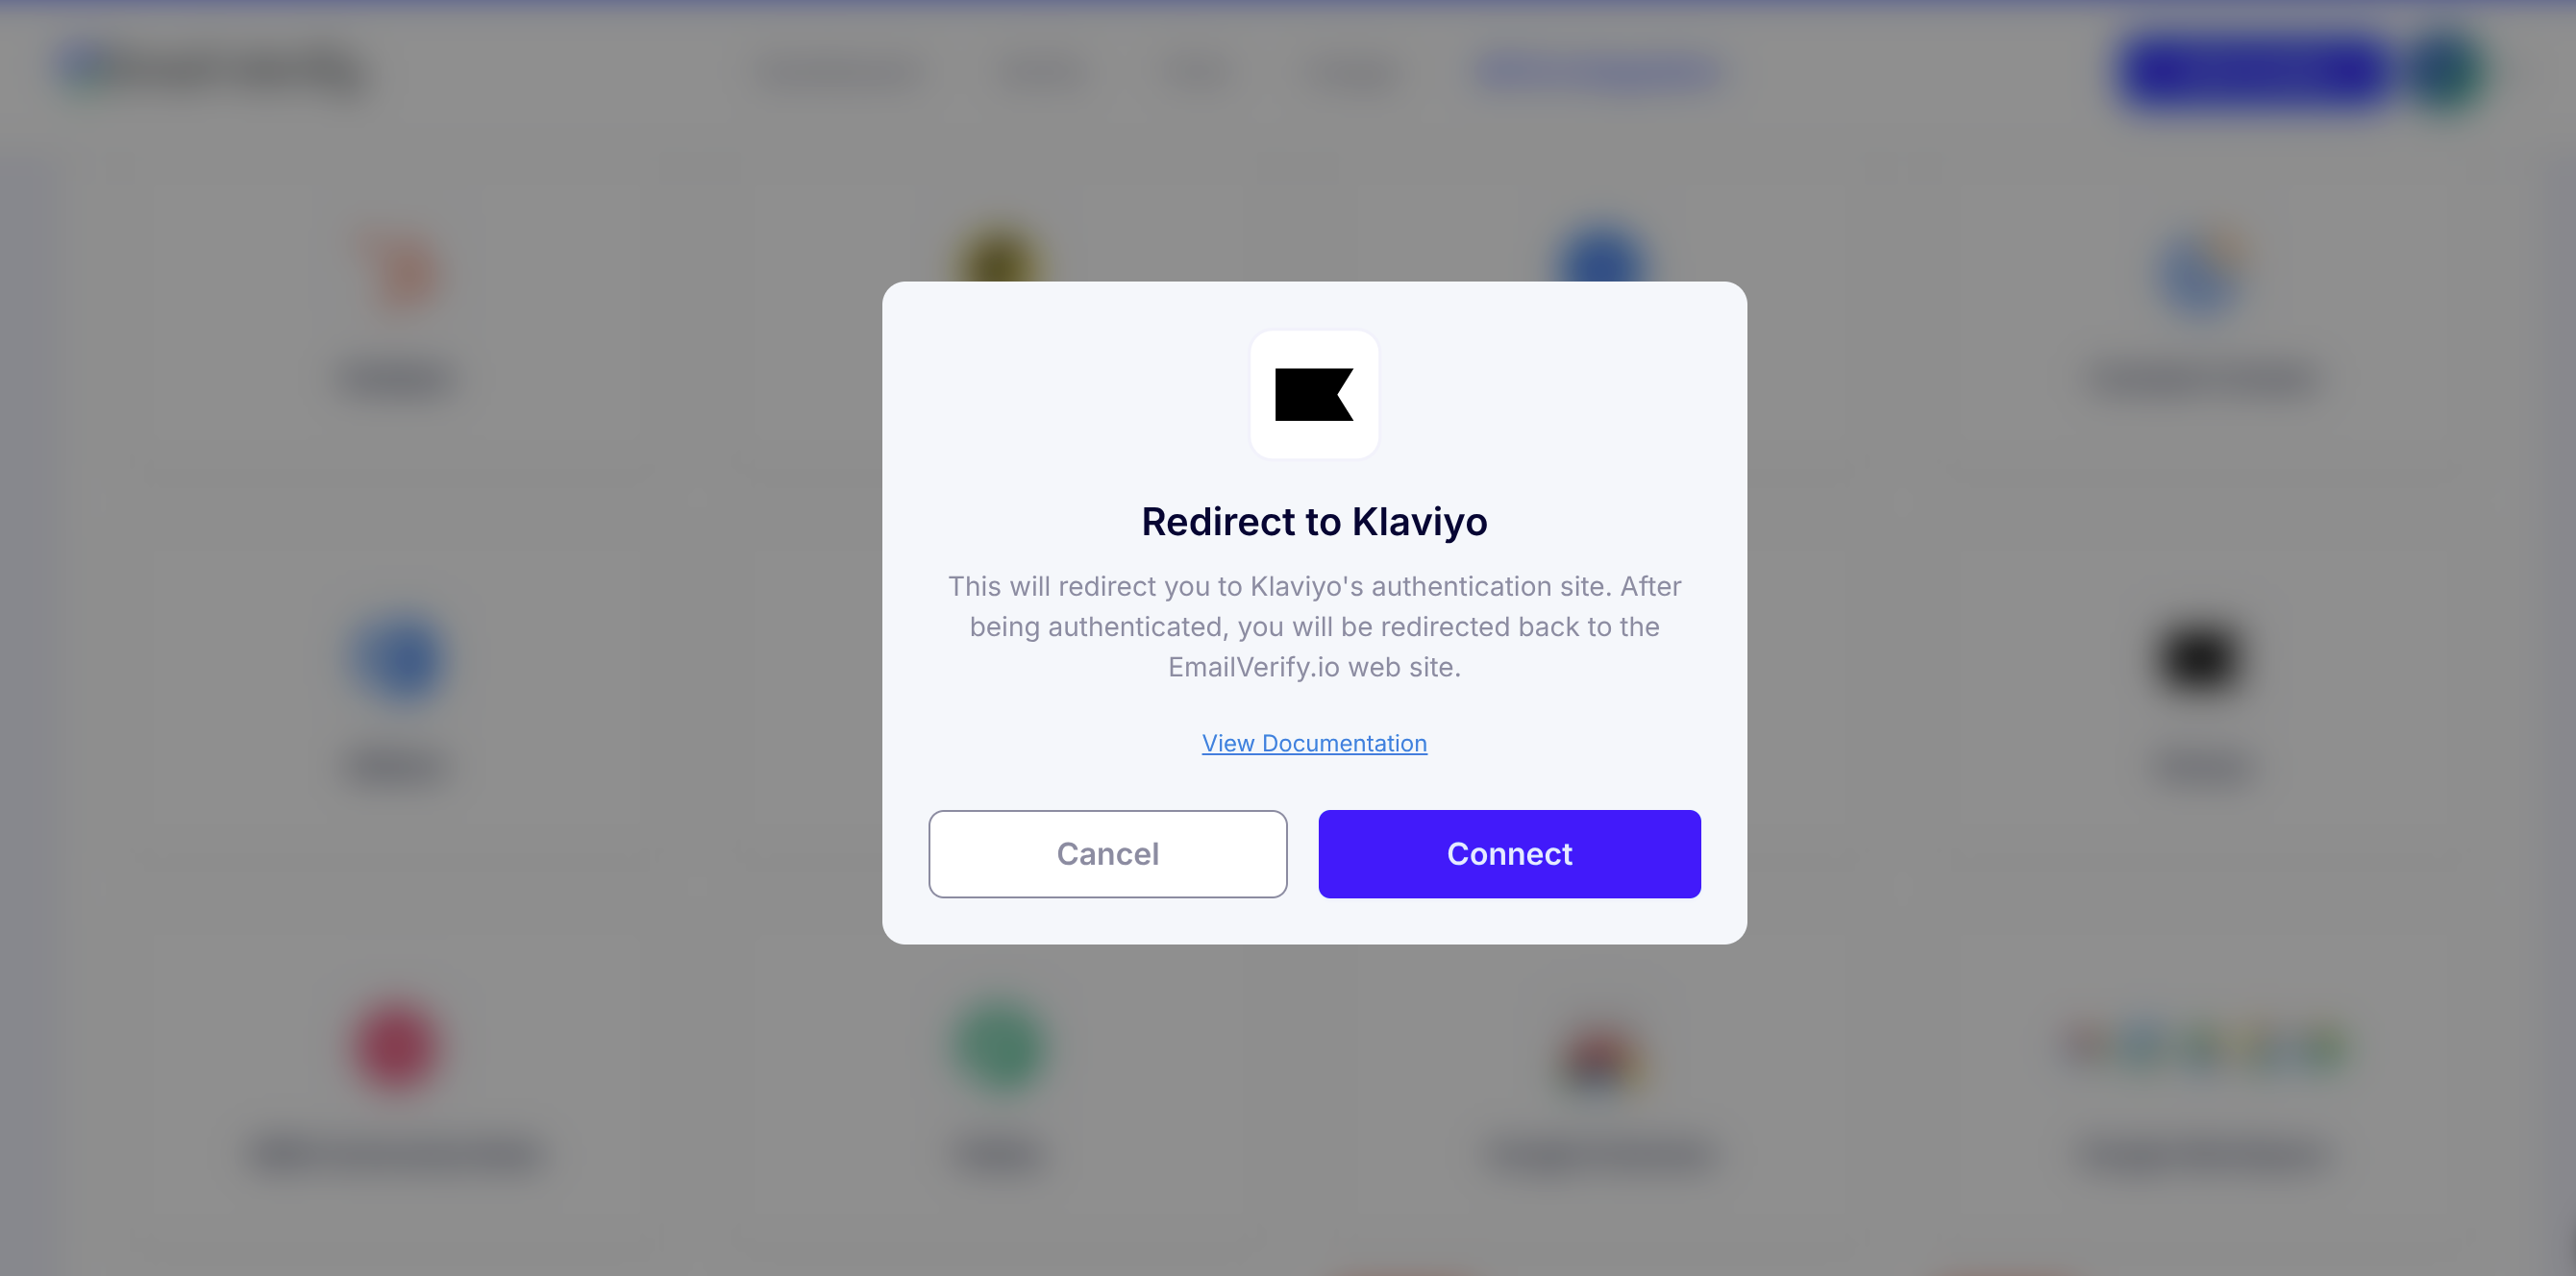
Step 2: Initiate the Klaviyo Connection
Find Klaviyo in your list of integrations and click Connect. A pop-up window will appear to guide you through the next steps.
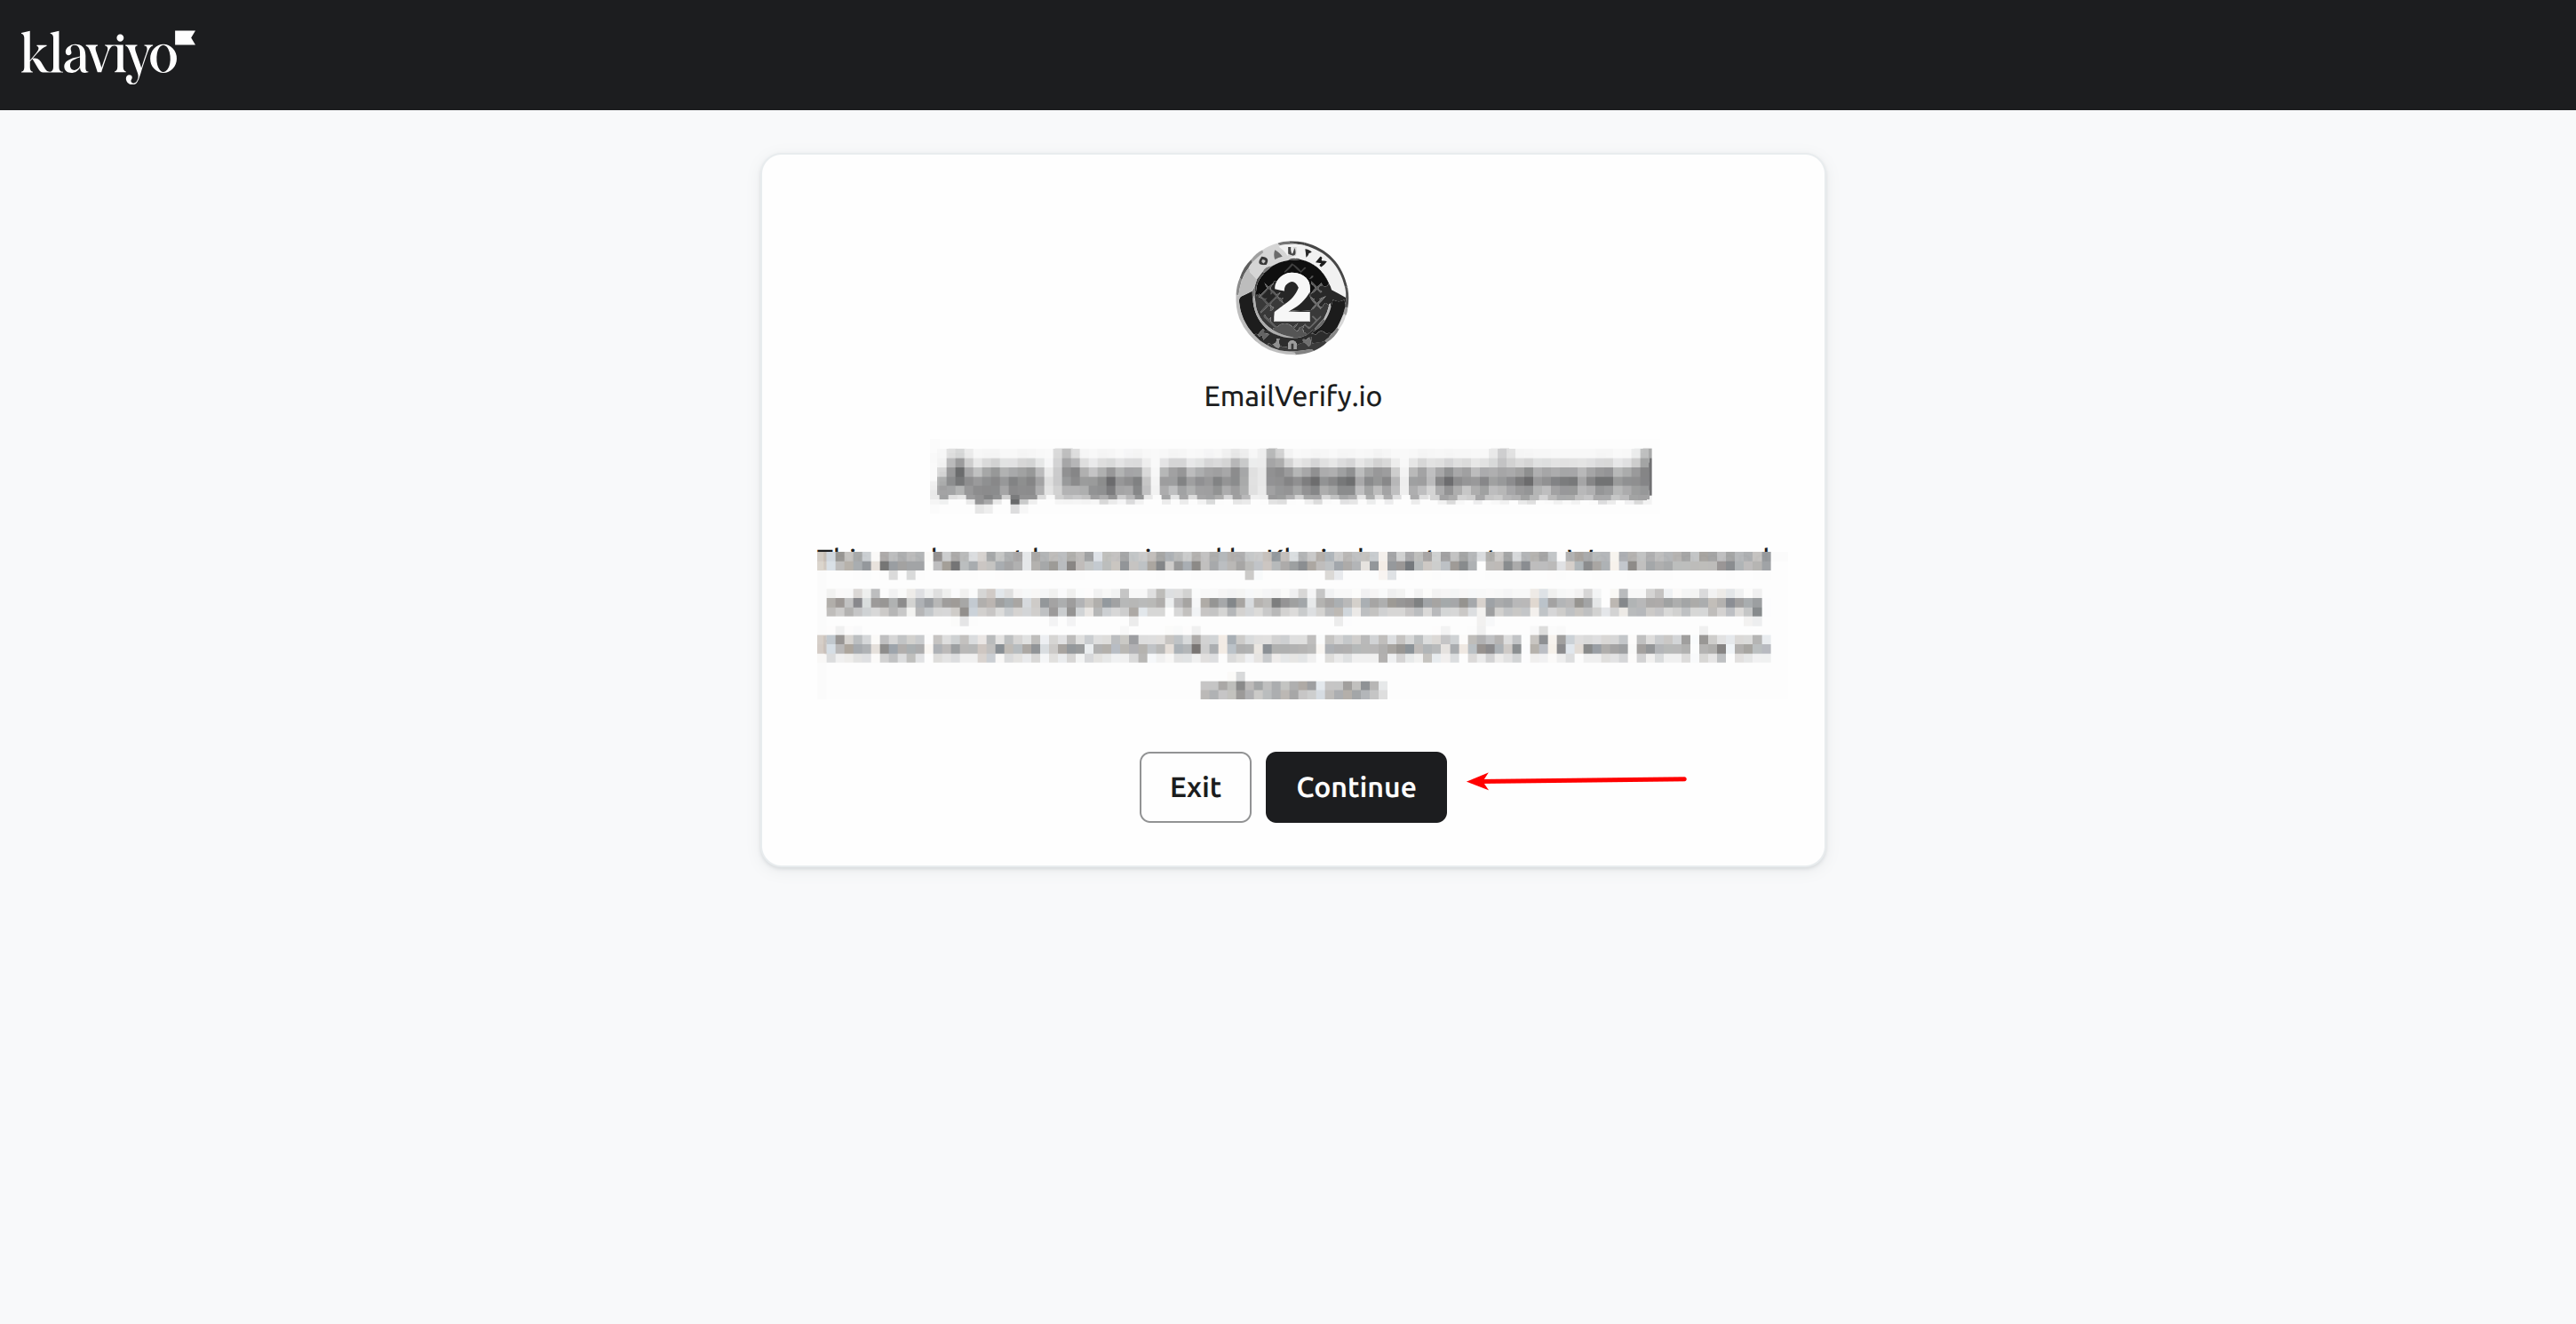
Step 3: Authenticate via Klaviyo
You’ll be taken to Klaviyo’s authorization page. Click Continue, then select the account you want to link if you have multiple accounts.
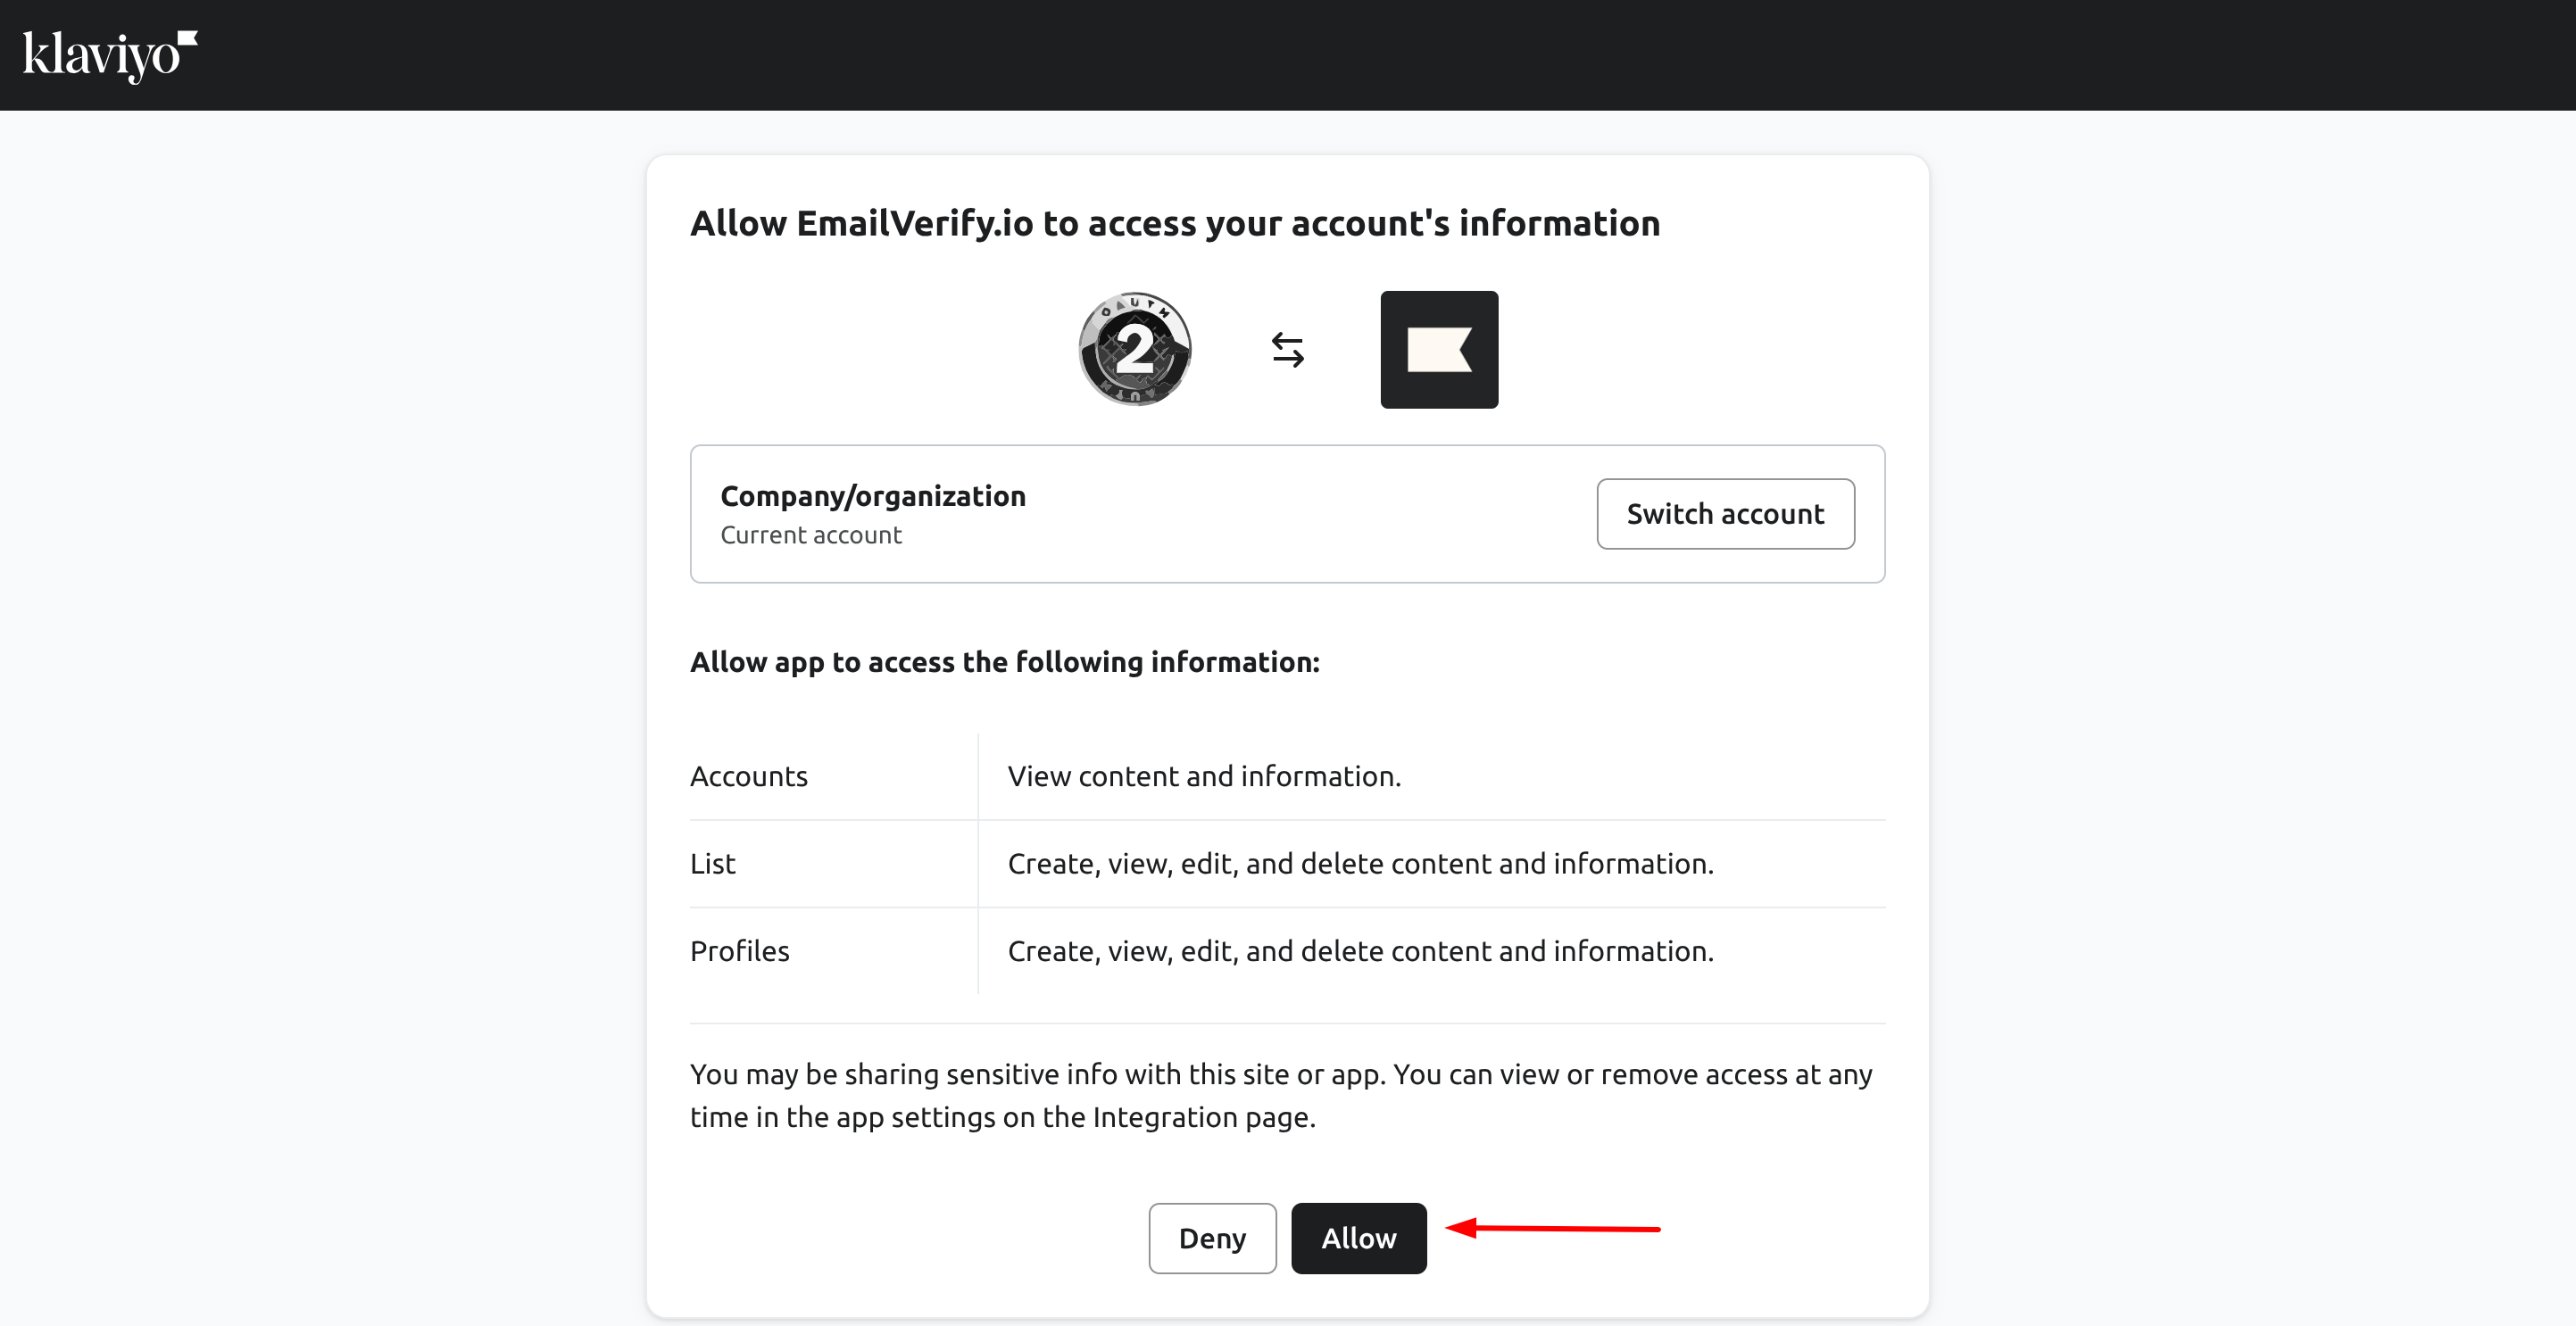
Step 4: Approve Access
Klaviyo will ask for permission to let EmailVerify.io access your contact lists. Click Allow, and you’ll be redirected back to EmailVerify.io once the connection is complete.
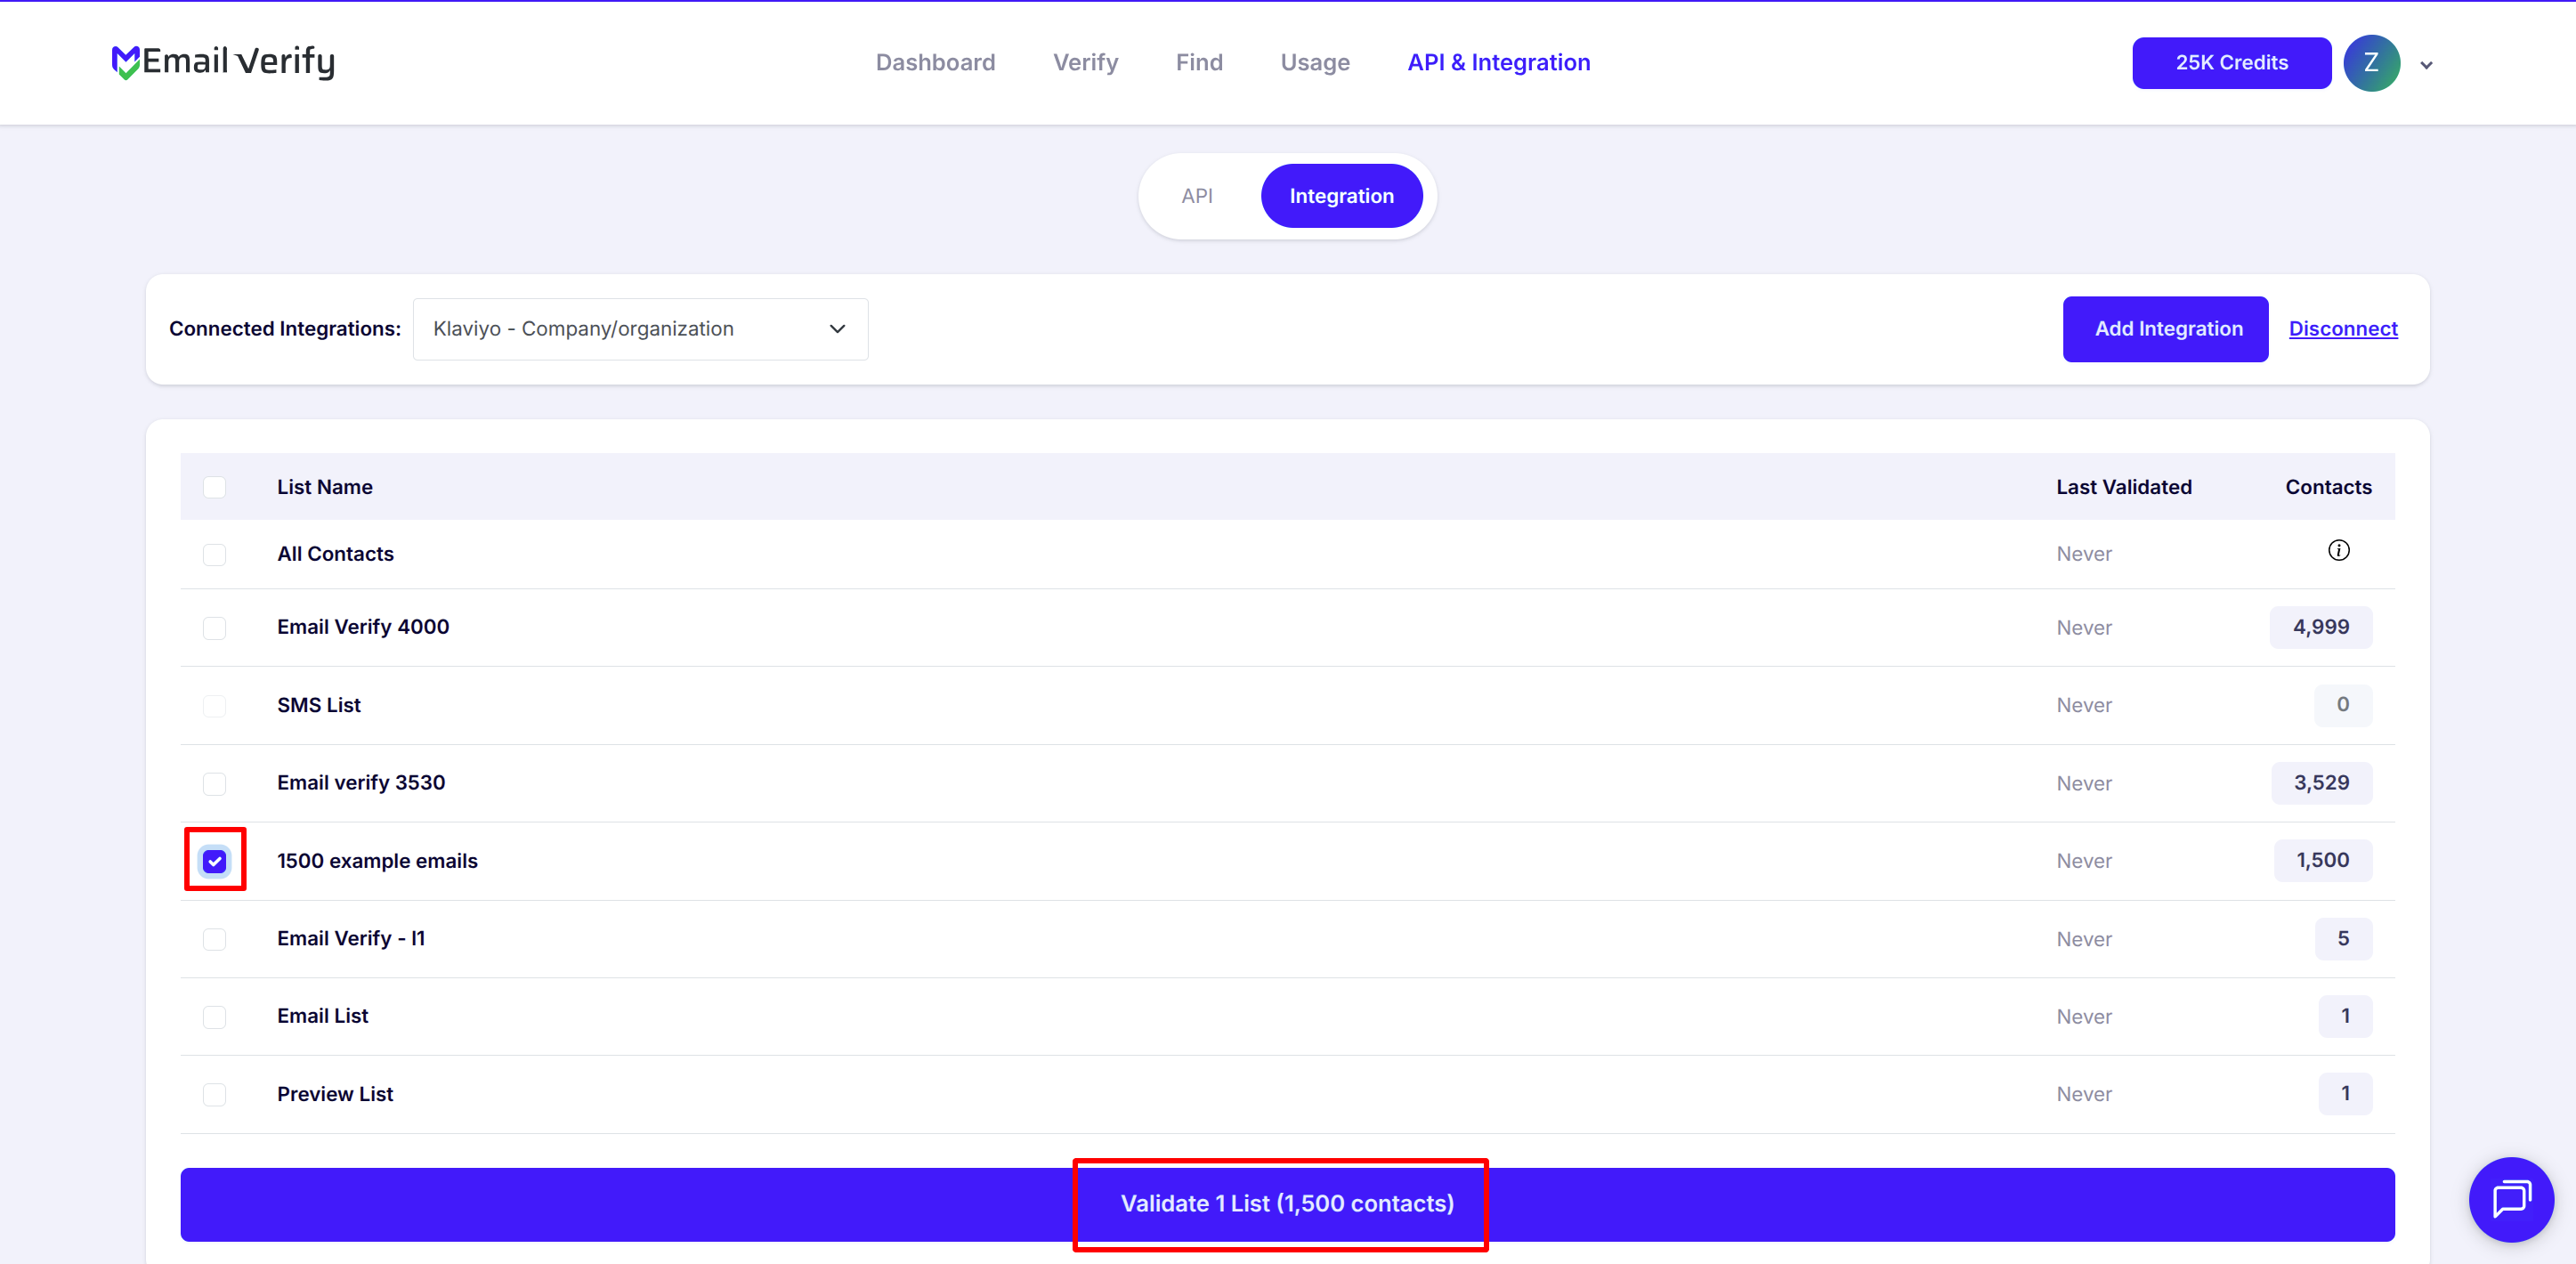
Step 5: View Your Klaviyo Lists
After the connection is established, your Klaviyo lists will appear in the integration section. You can now see all the subscriber lists ready for verification.
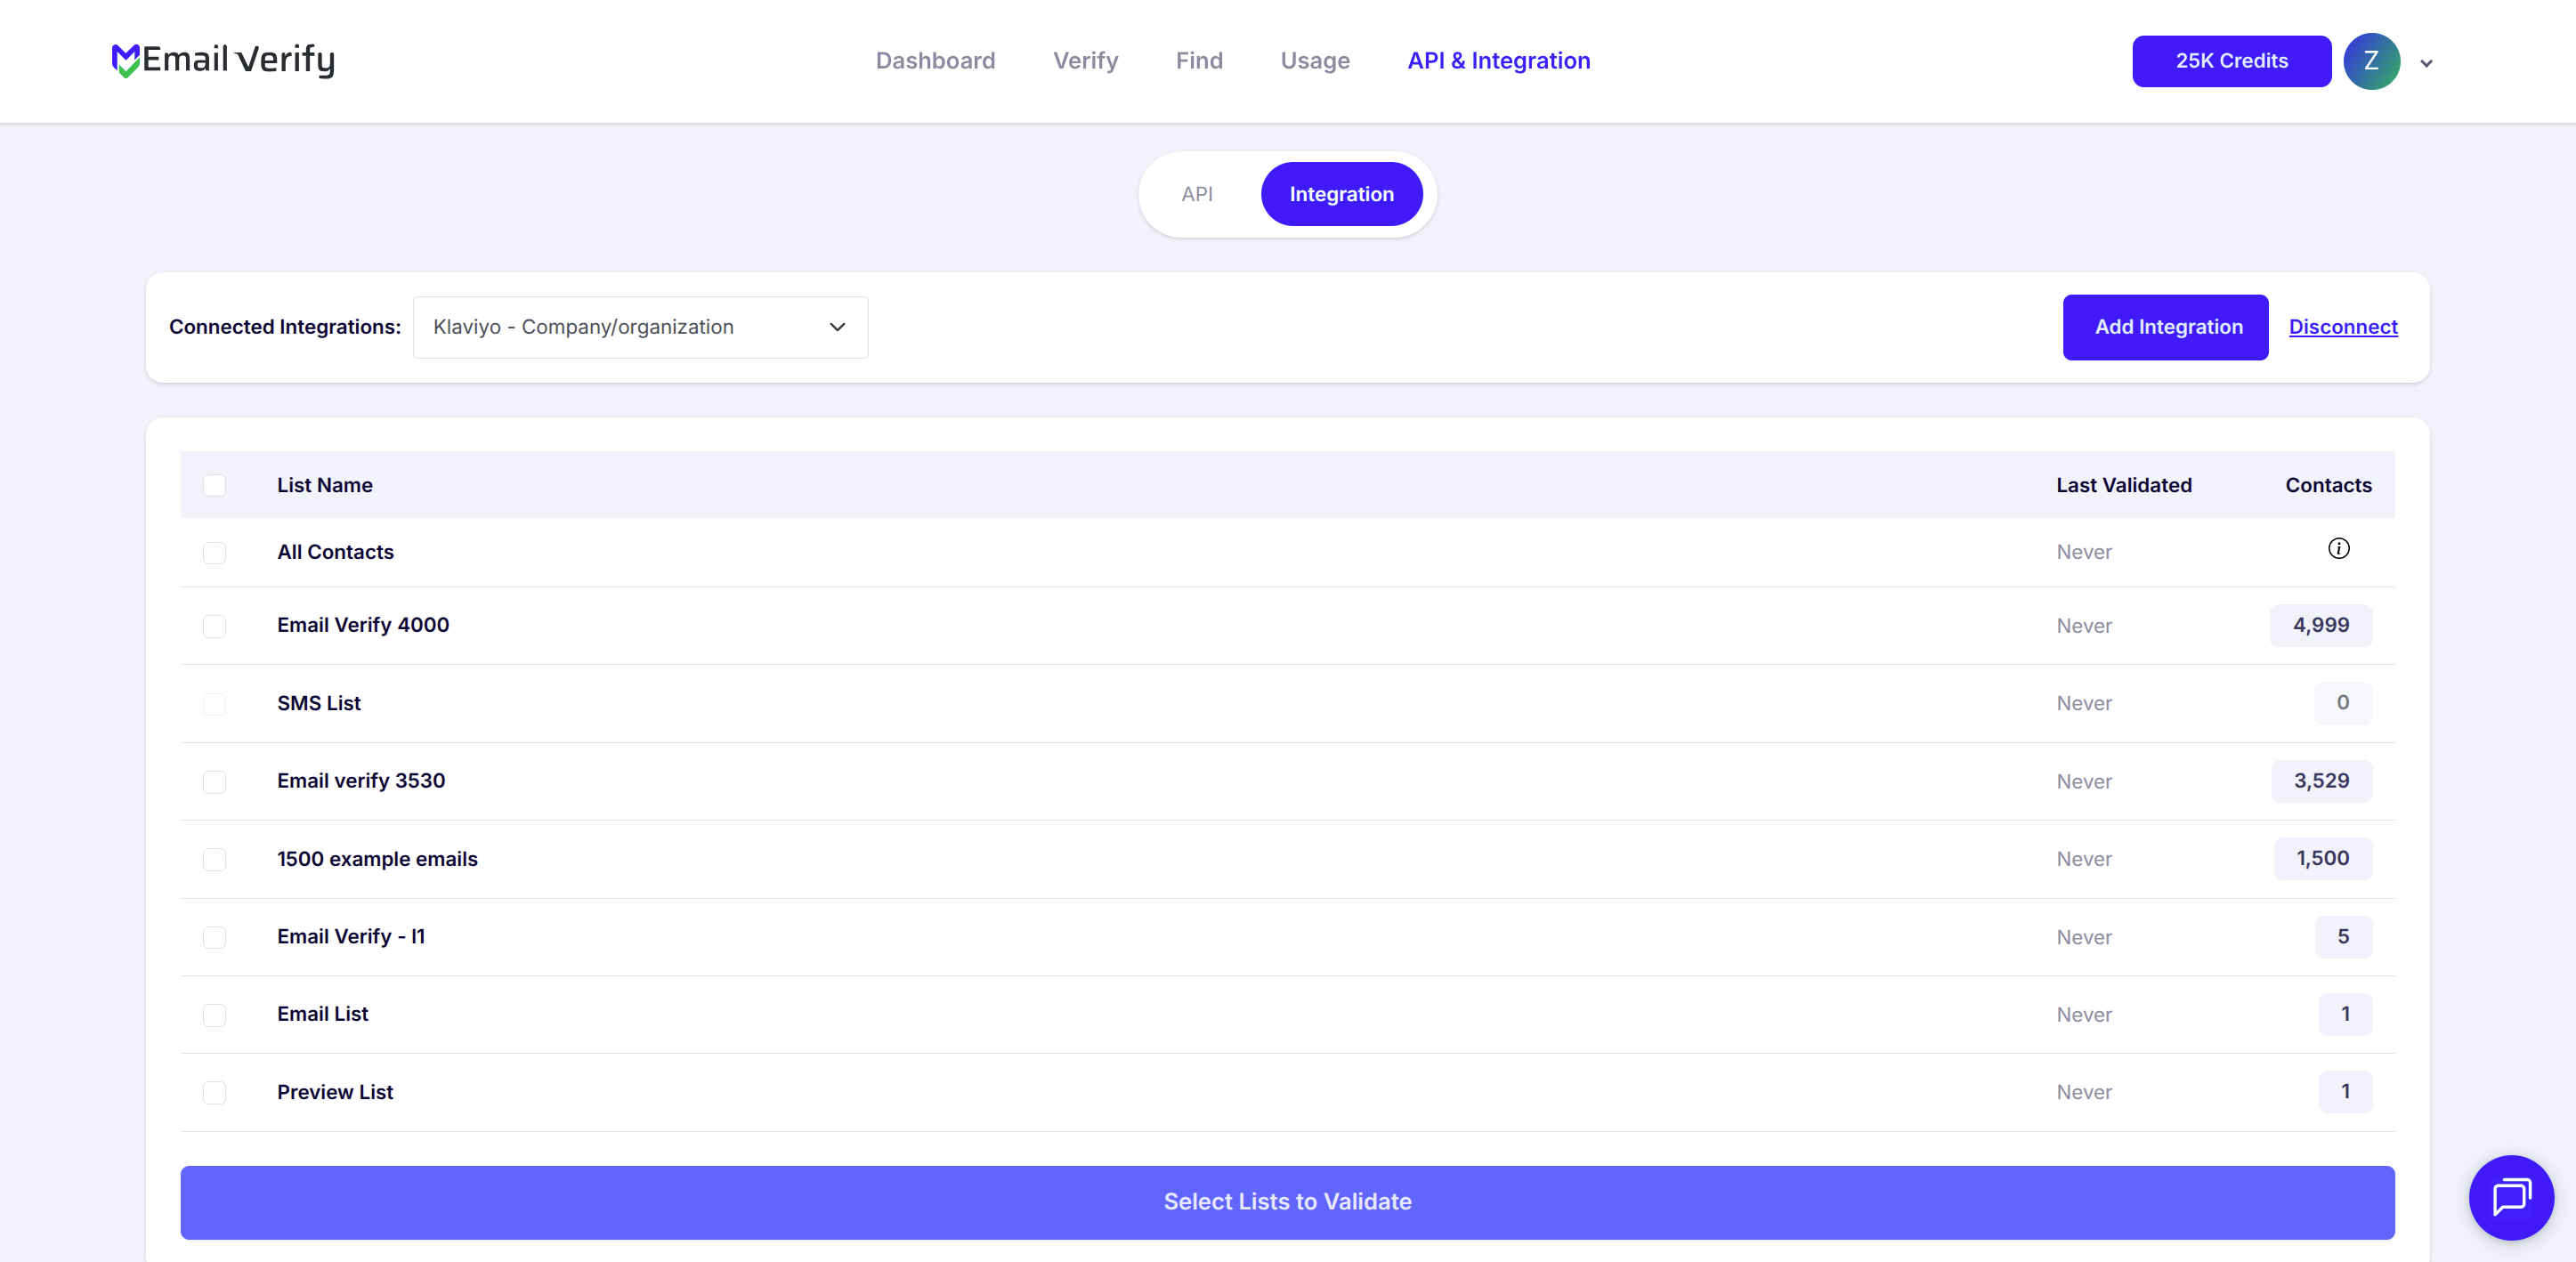
Step 6: Select Lists for Verification
Select the lists you want to validate. Once selected, initiate the verification process. Your lists will be queued for processing by EmailVerify.io.
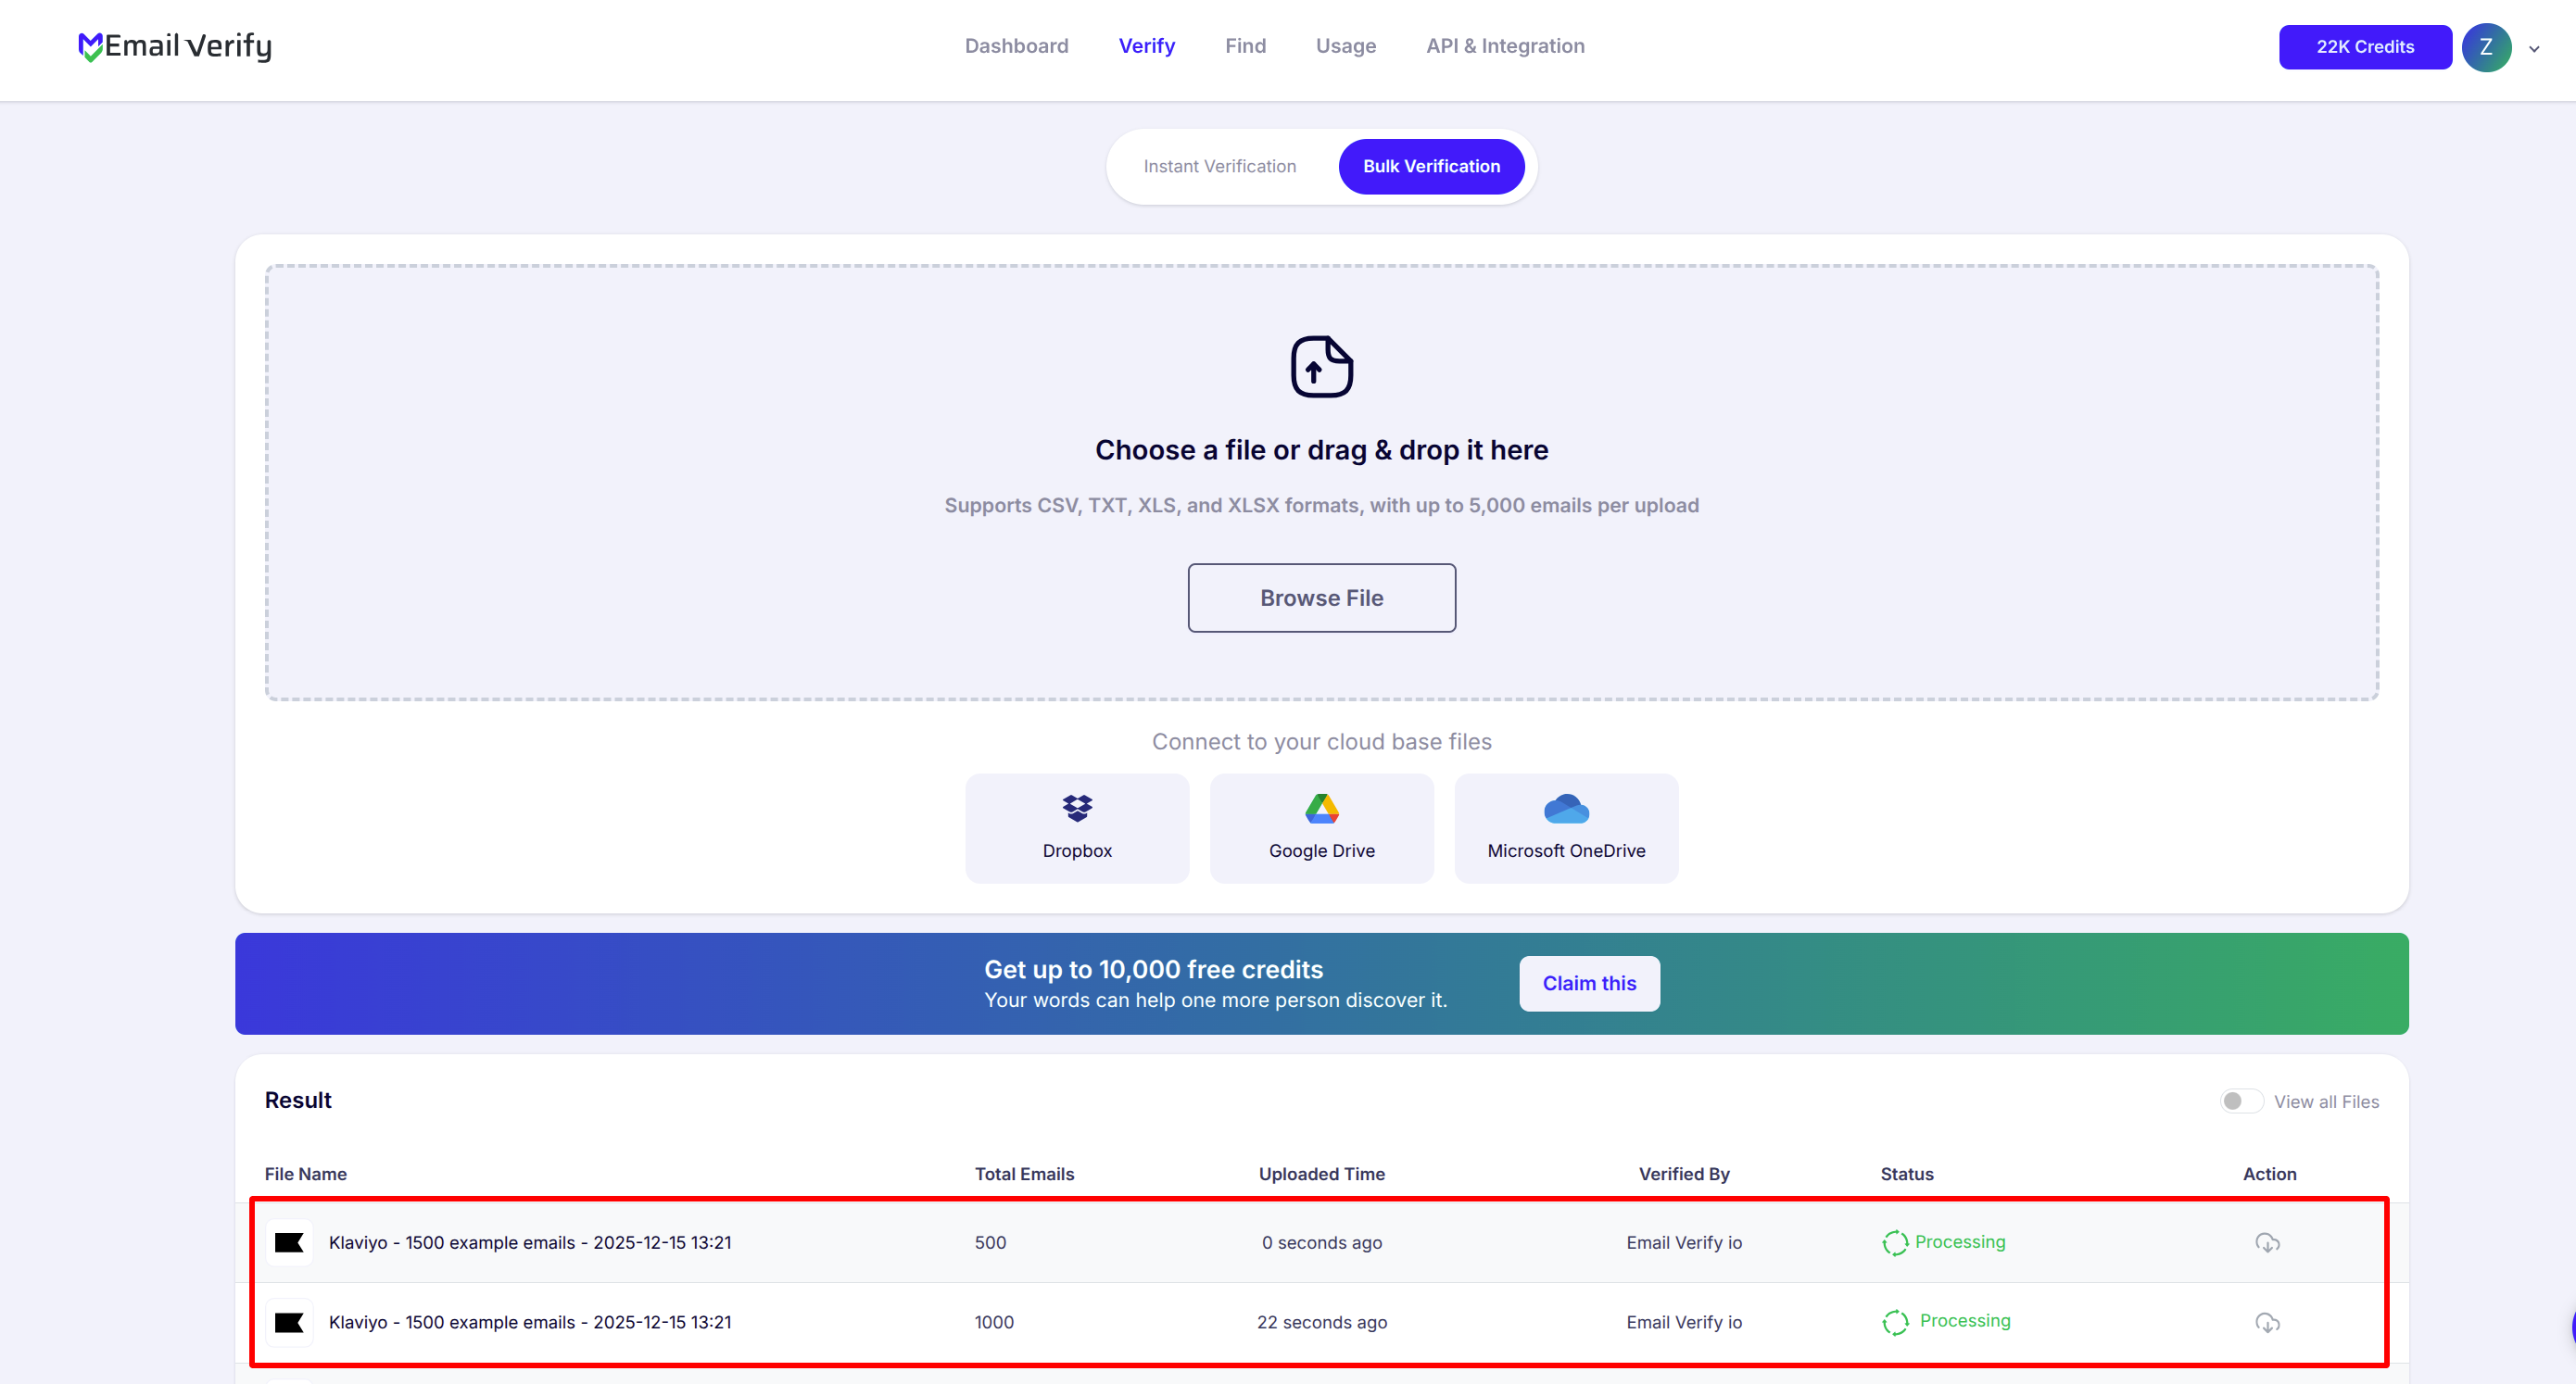
Step 7: Track Verification Progress
Monitor the verification status of each list on the Bulk Verification page. You will also receive an email notification when the verification is complete.
Step 8: Access Verified Results
Once verification finishes, the results are automatically updated in Klaviyo. Three custom properties will be added to each contact:
- EV_Status
- EV_SubStatus
- EV_Validation_Timestamp
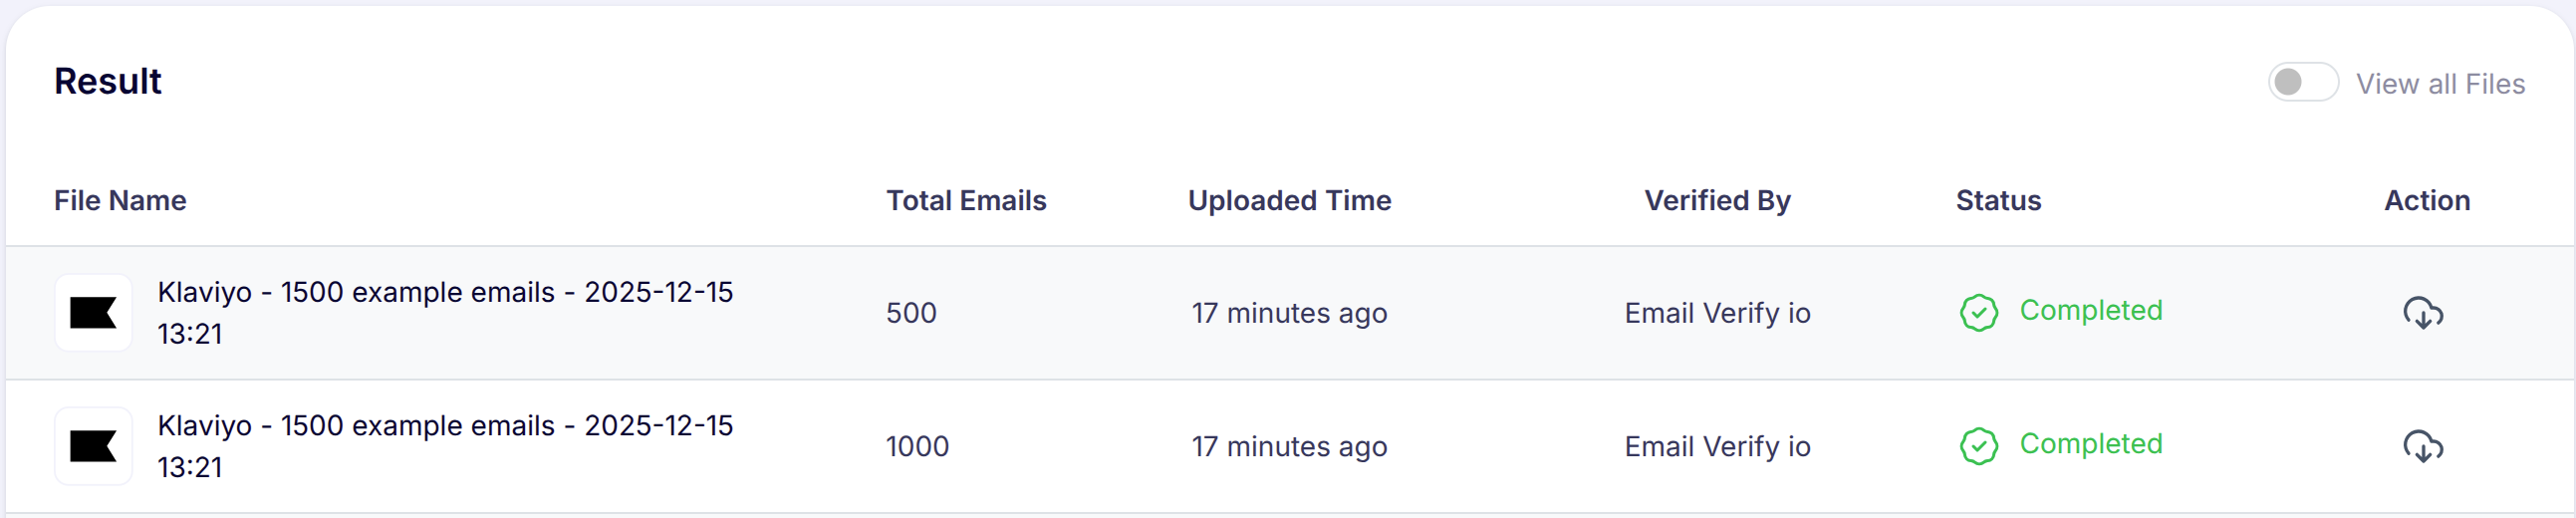
You can also download the verified results from EmailVerify.io if you wish to review, segment, or clean your lists further.
Troubleshooting & Tips
Use the following suggestions to address common issues during the integration or verification process:
- Ensure your browser allows pop-ups, and disable any ad blockers if the Klaviyo authorization window does not appear.
- Verify that you have the necessary permissions in Klaviyo to connect third-party applications.
- If your lists do not display in EmailVerify.io, refresh the Integrations page or reauthorize the connection.
- For large lists, allow sufficient time for processing and monitor progress on the Bulk Verification page.
- For initial setup, consider validating smaller lists to confirm configuration before processing larger campaigns.