Integration with Wix
The EmailVerify.io–Wix integration helps you maintain clean, accurate contact data in your Wix site. By verifying email addresses in real time, you can reduce bounce rates, improve deliverability, and ensure your campaigns reach genuine, engaged subscribers.
With this integration, you can:
- Import Wix contacts directly into EmailVerify.io.
- Validate emails using our verification engine.
- Automatically sync results back to Wix with dedicated fields.
The integration preserves your Wix contact structure, adding verification information without altering existing records.
Prerequisites
Before starting, make sure you have:
- An active Wix account
- An active EmailVerify.io account
- Access to the Wix site you want to integrate
This integration uses OAuth 2.0 for secure authentication. Your Wix credentials are never stored or shared.
Step-by-Step Integration Setup
Learn how to connect, verify, and manage your Wix contacts with EmailVerify.io in a few easy steps.
Step 1: Log in to EmailVerify.io
Head over to app.emailverify.io and sign in with your account. Once you’re in, navigate to the Integrations section, which is where all our app connections live.
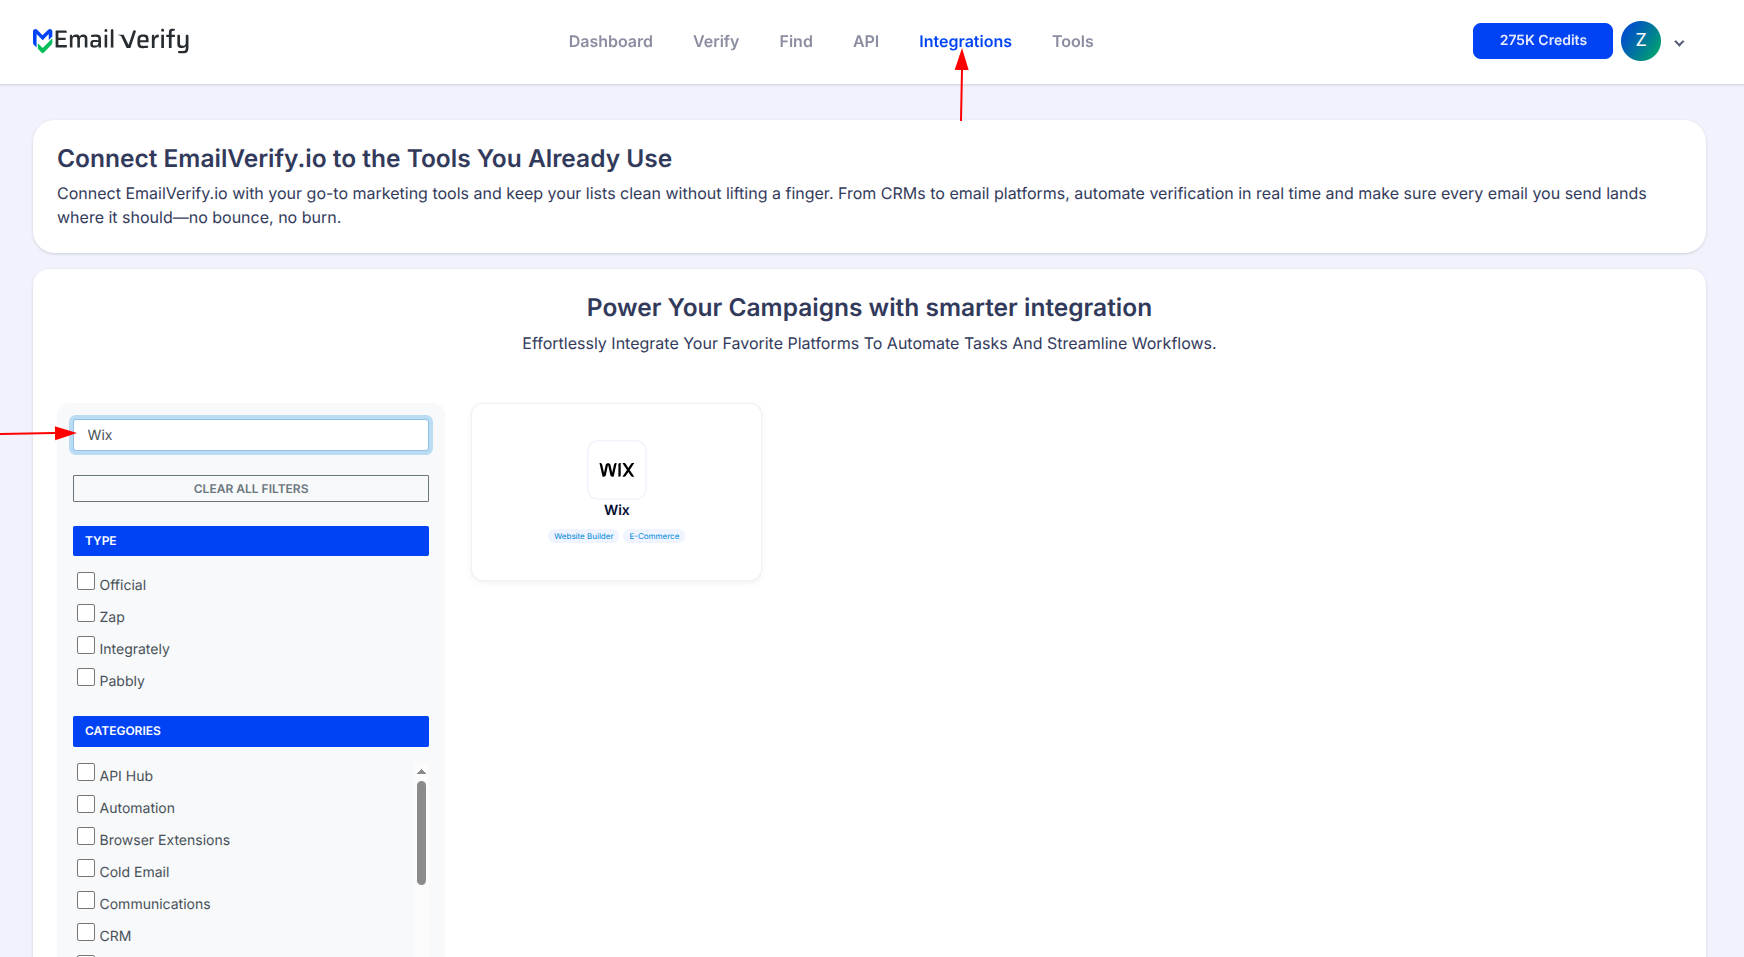
Step 2: Select Wix
Browse the list of integrations to find Wix, then click Connect. A pop-up will guide you through the next steps.
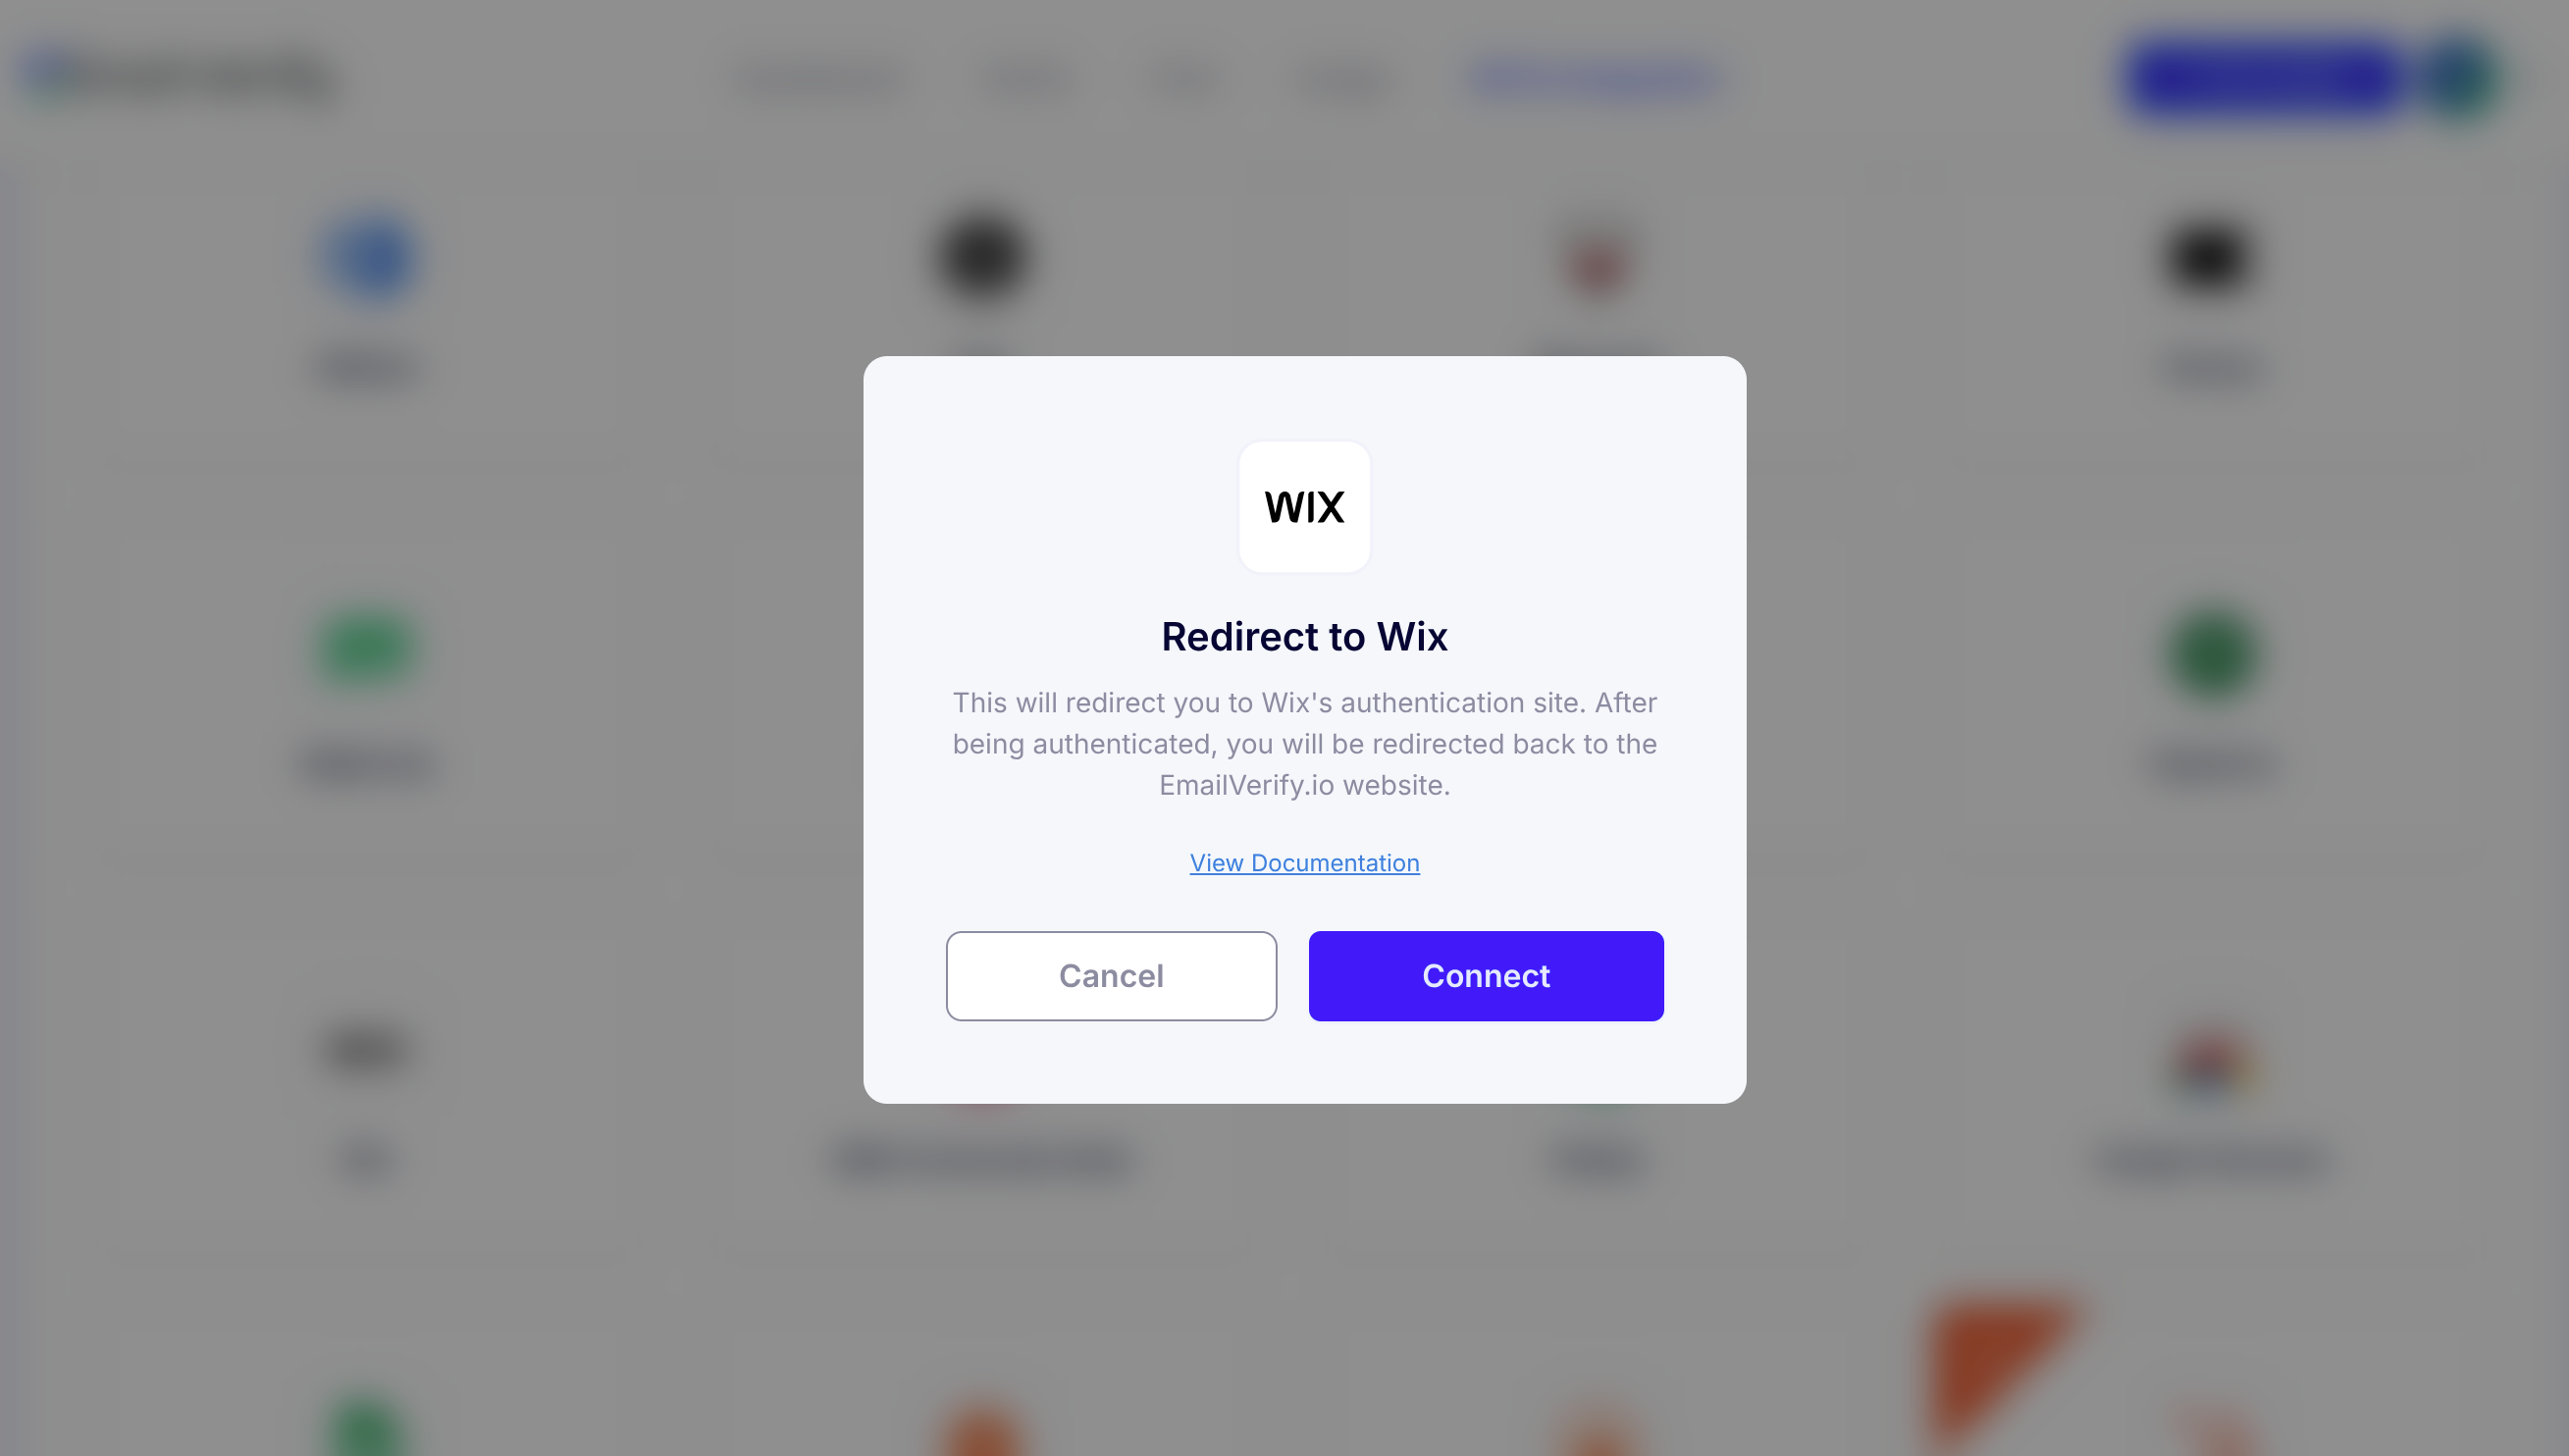
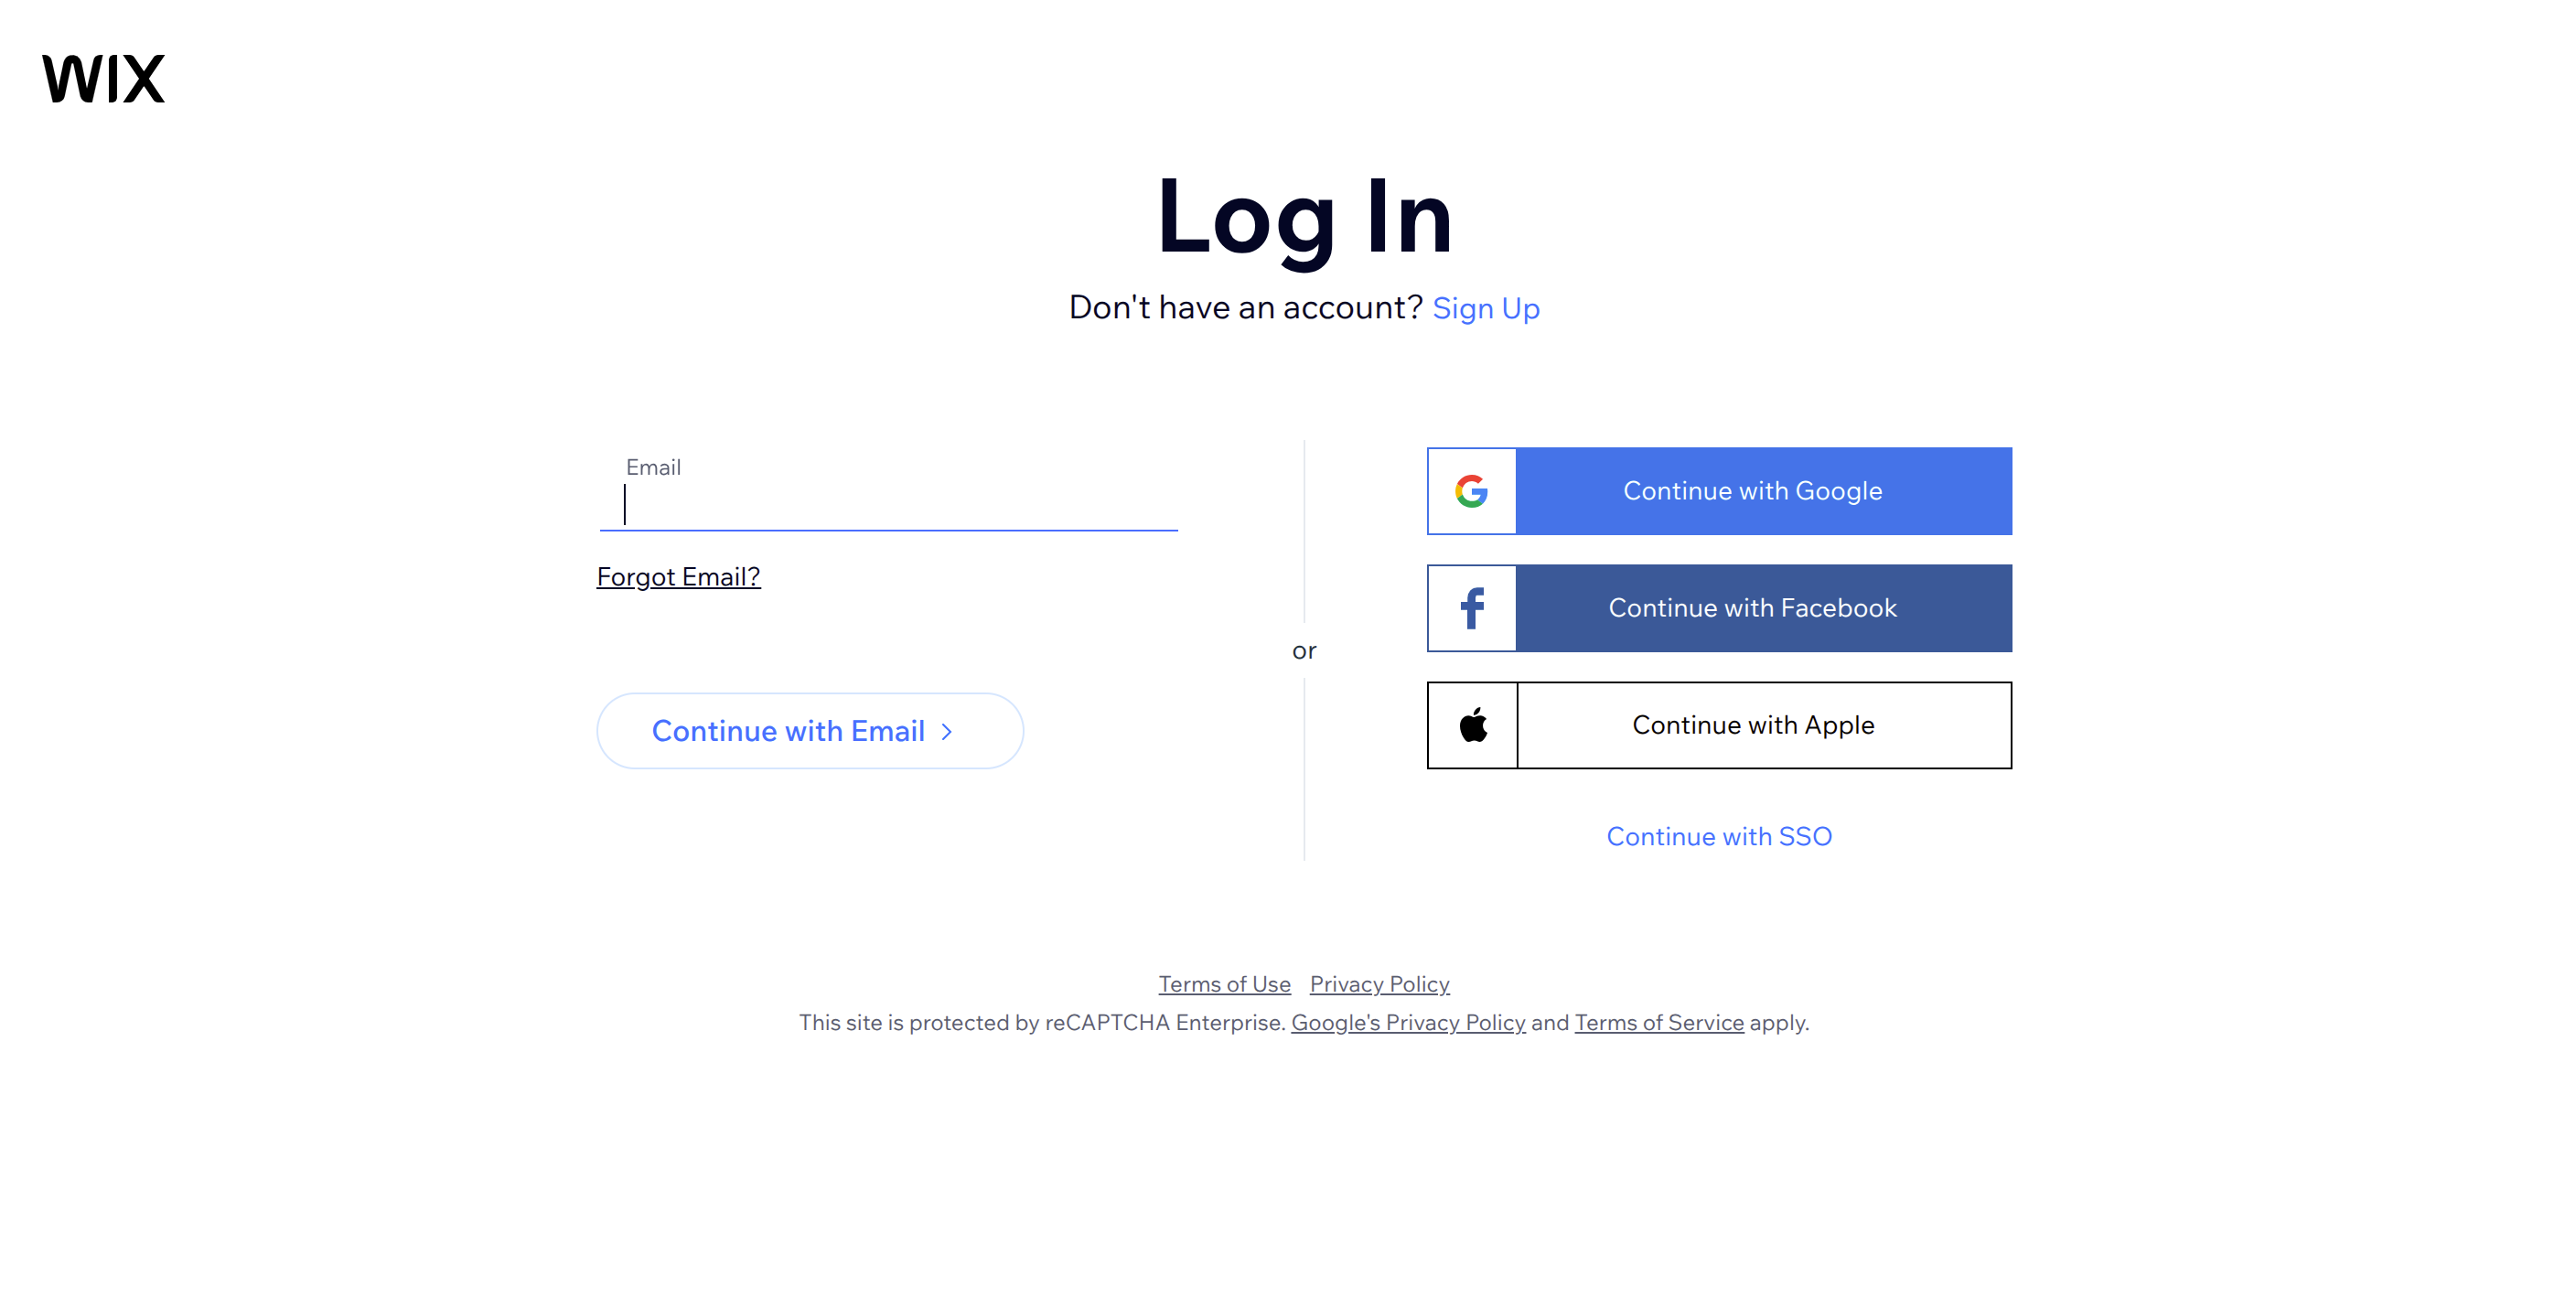
Step 3: Sign in to Wix
A Wix login window will appear. Go ahead and log in with your Wix credentials. This step lets EmailVerify.io access your contacts securely; your password isn’t stored anywhere.
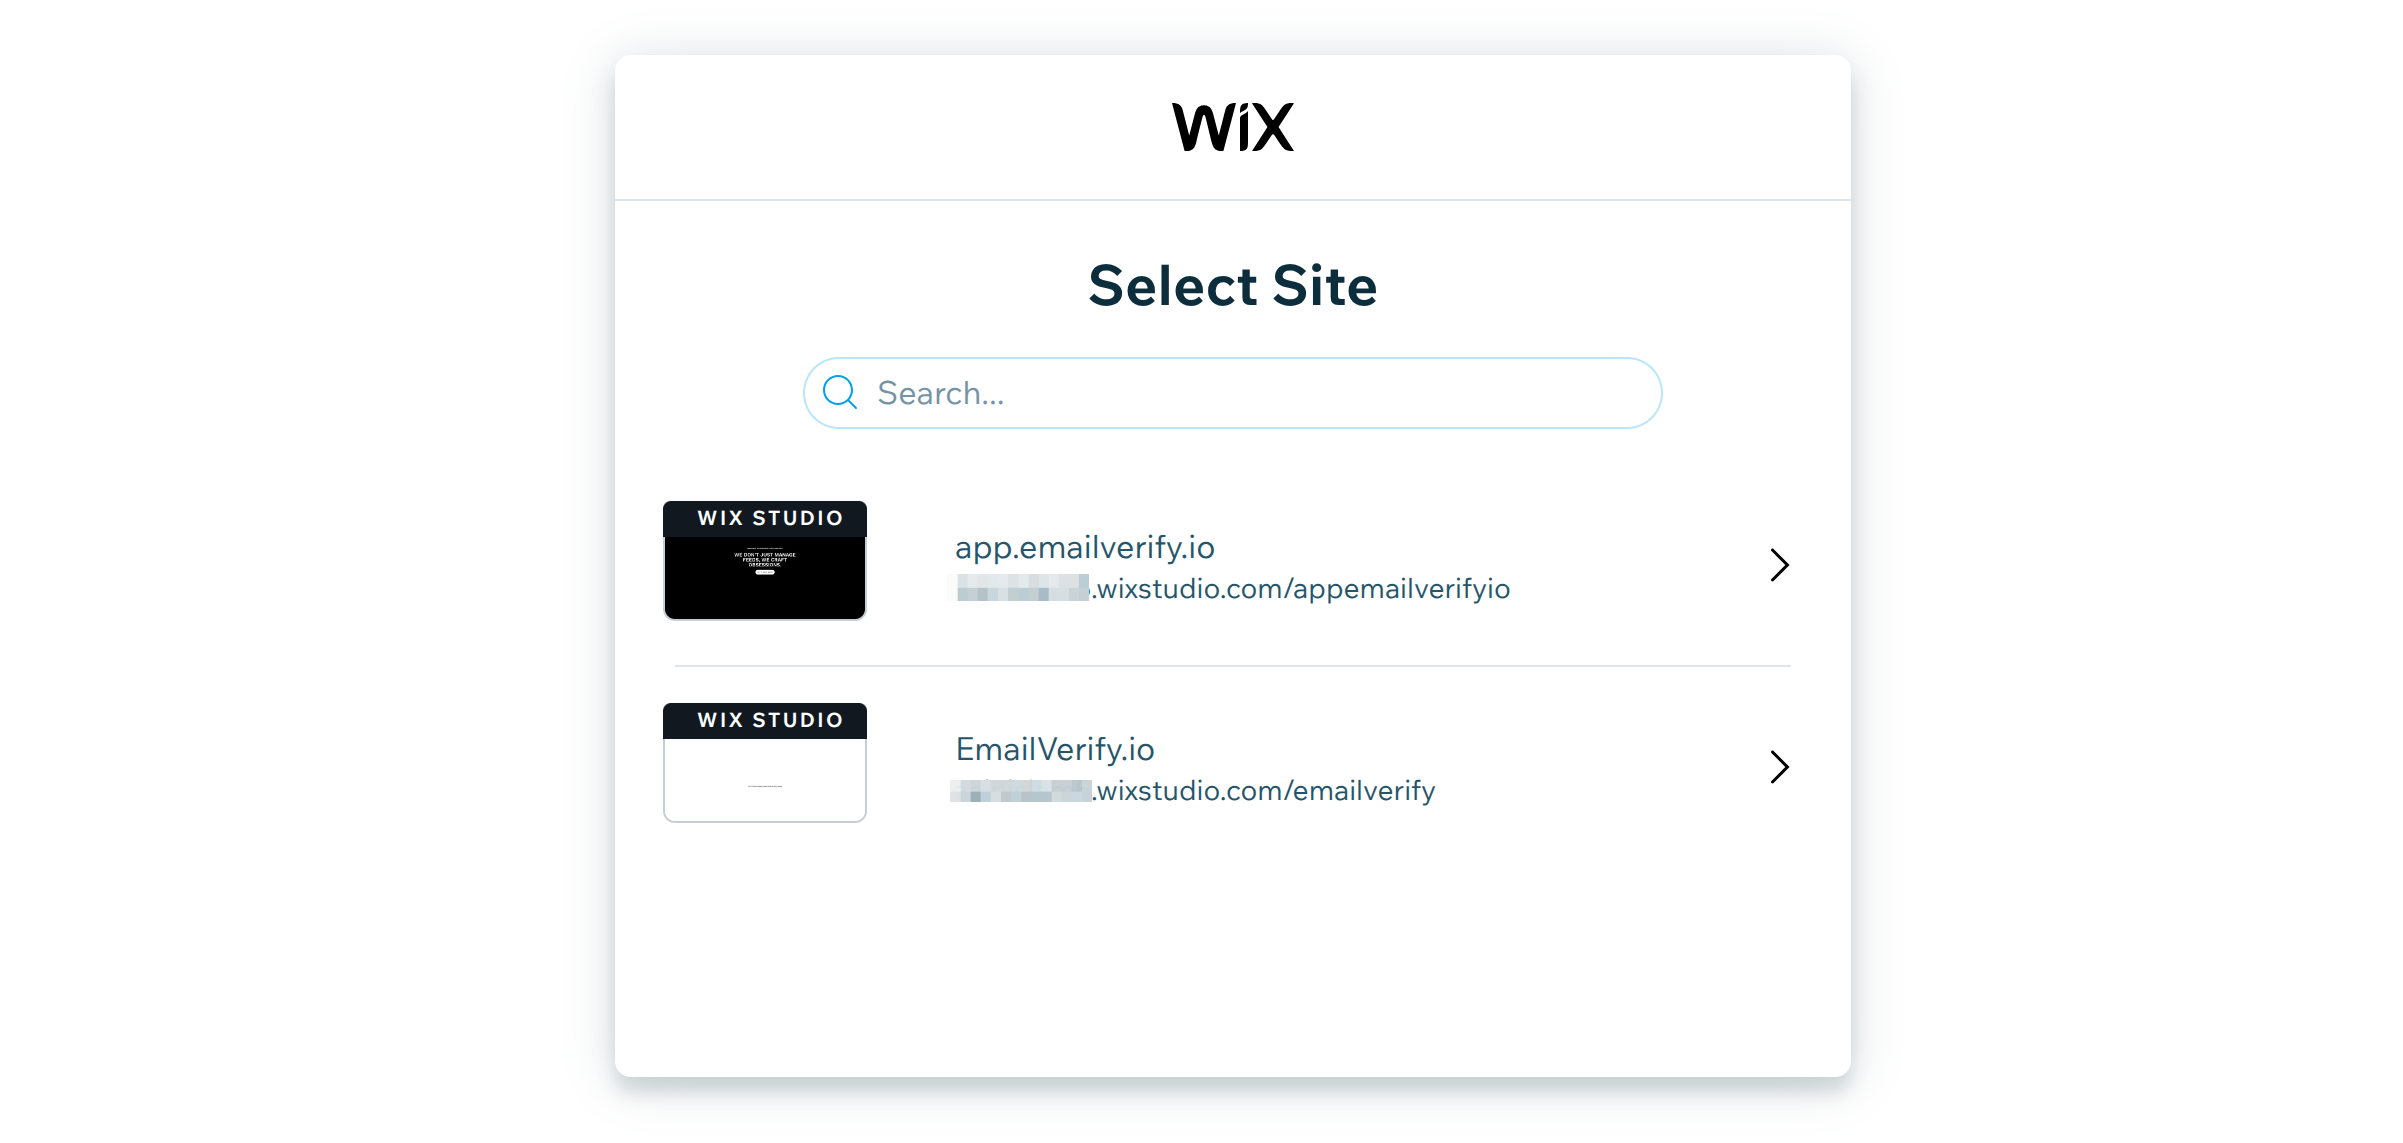
Step 4: Pick Your Wix Site
If you have multiple sites, select the one whose contacts you want to verify. Only the chosen site’s contacts will be accessible, so double-check you’ve picked the right one.
Step 5: Grant Permission
Click Agree & Add to let EmailVerify.io access your Wix contacts. This is a one-time step to authorize the connection.

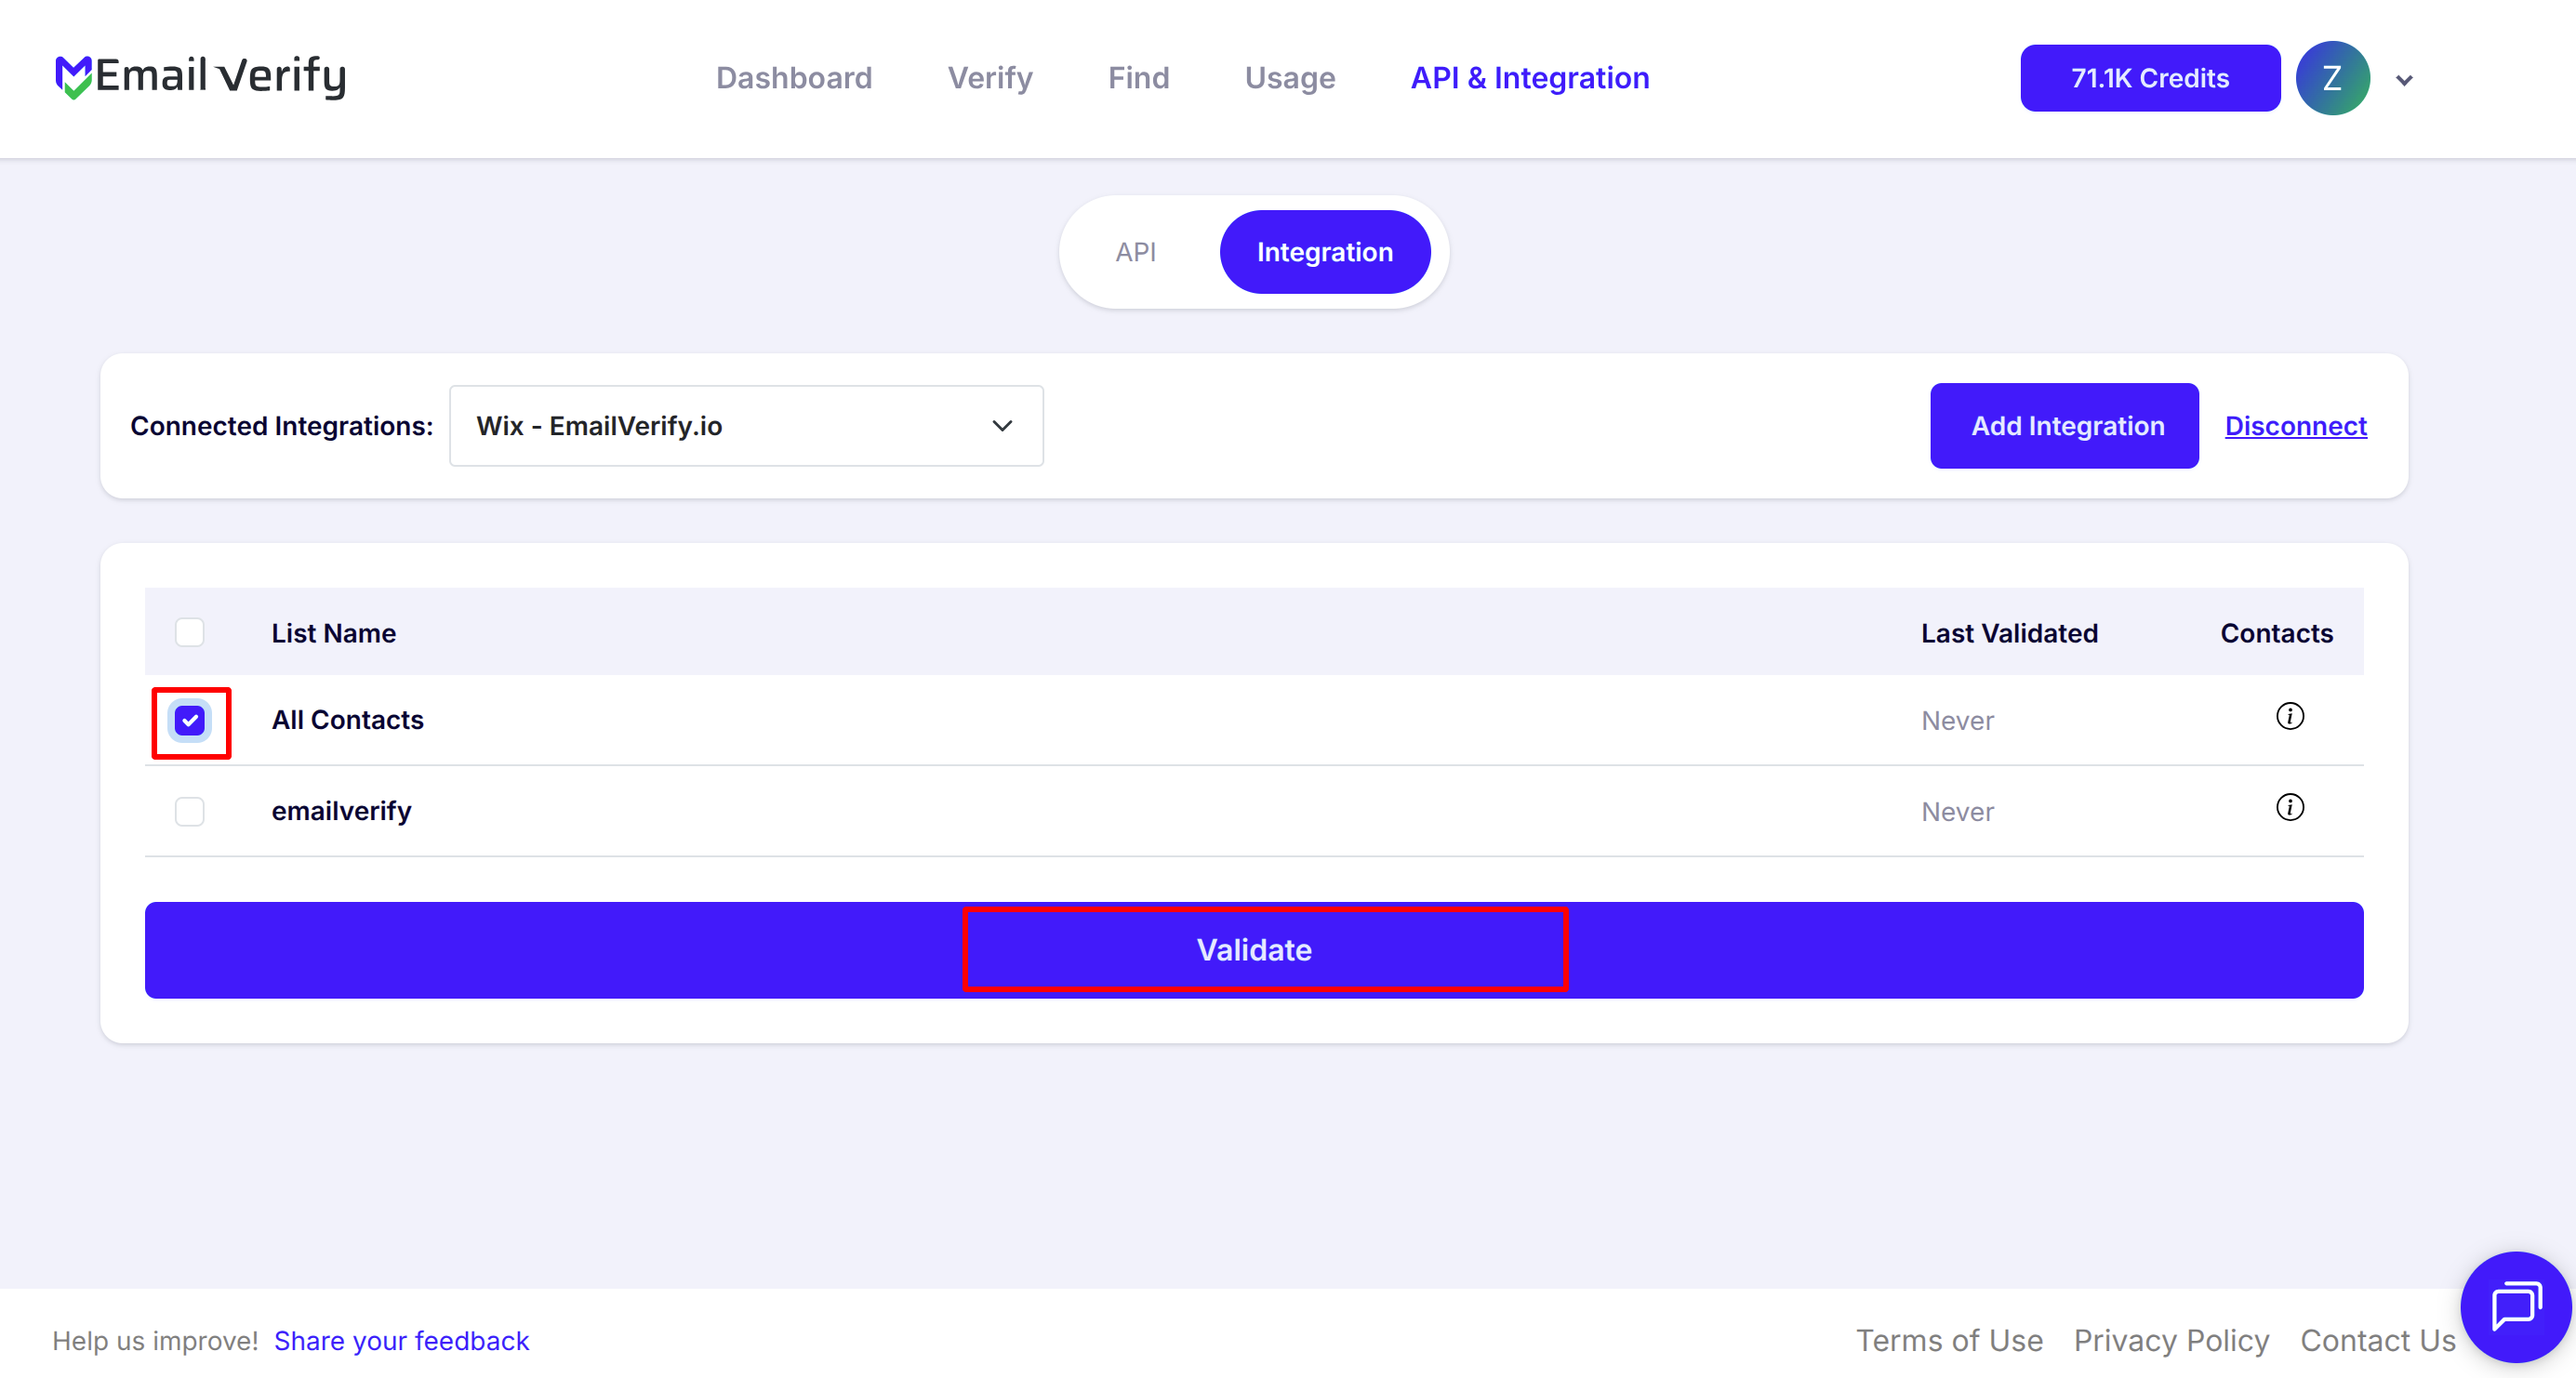
Step 7: Start Email Verification
Select the contacts you want to verify and click Validate. EmailVerify.io will handle the rest and flag any invalid, disposable, or catch-all emails.
Pro tip: Start with a smaller batch if this is your first time; it’s a great way to see how verification works without waiting on a large list.
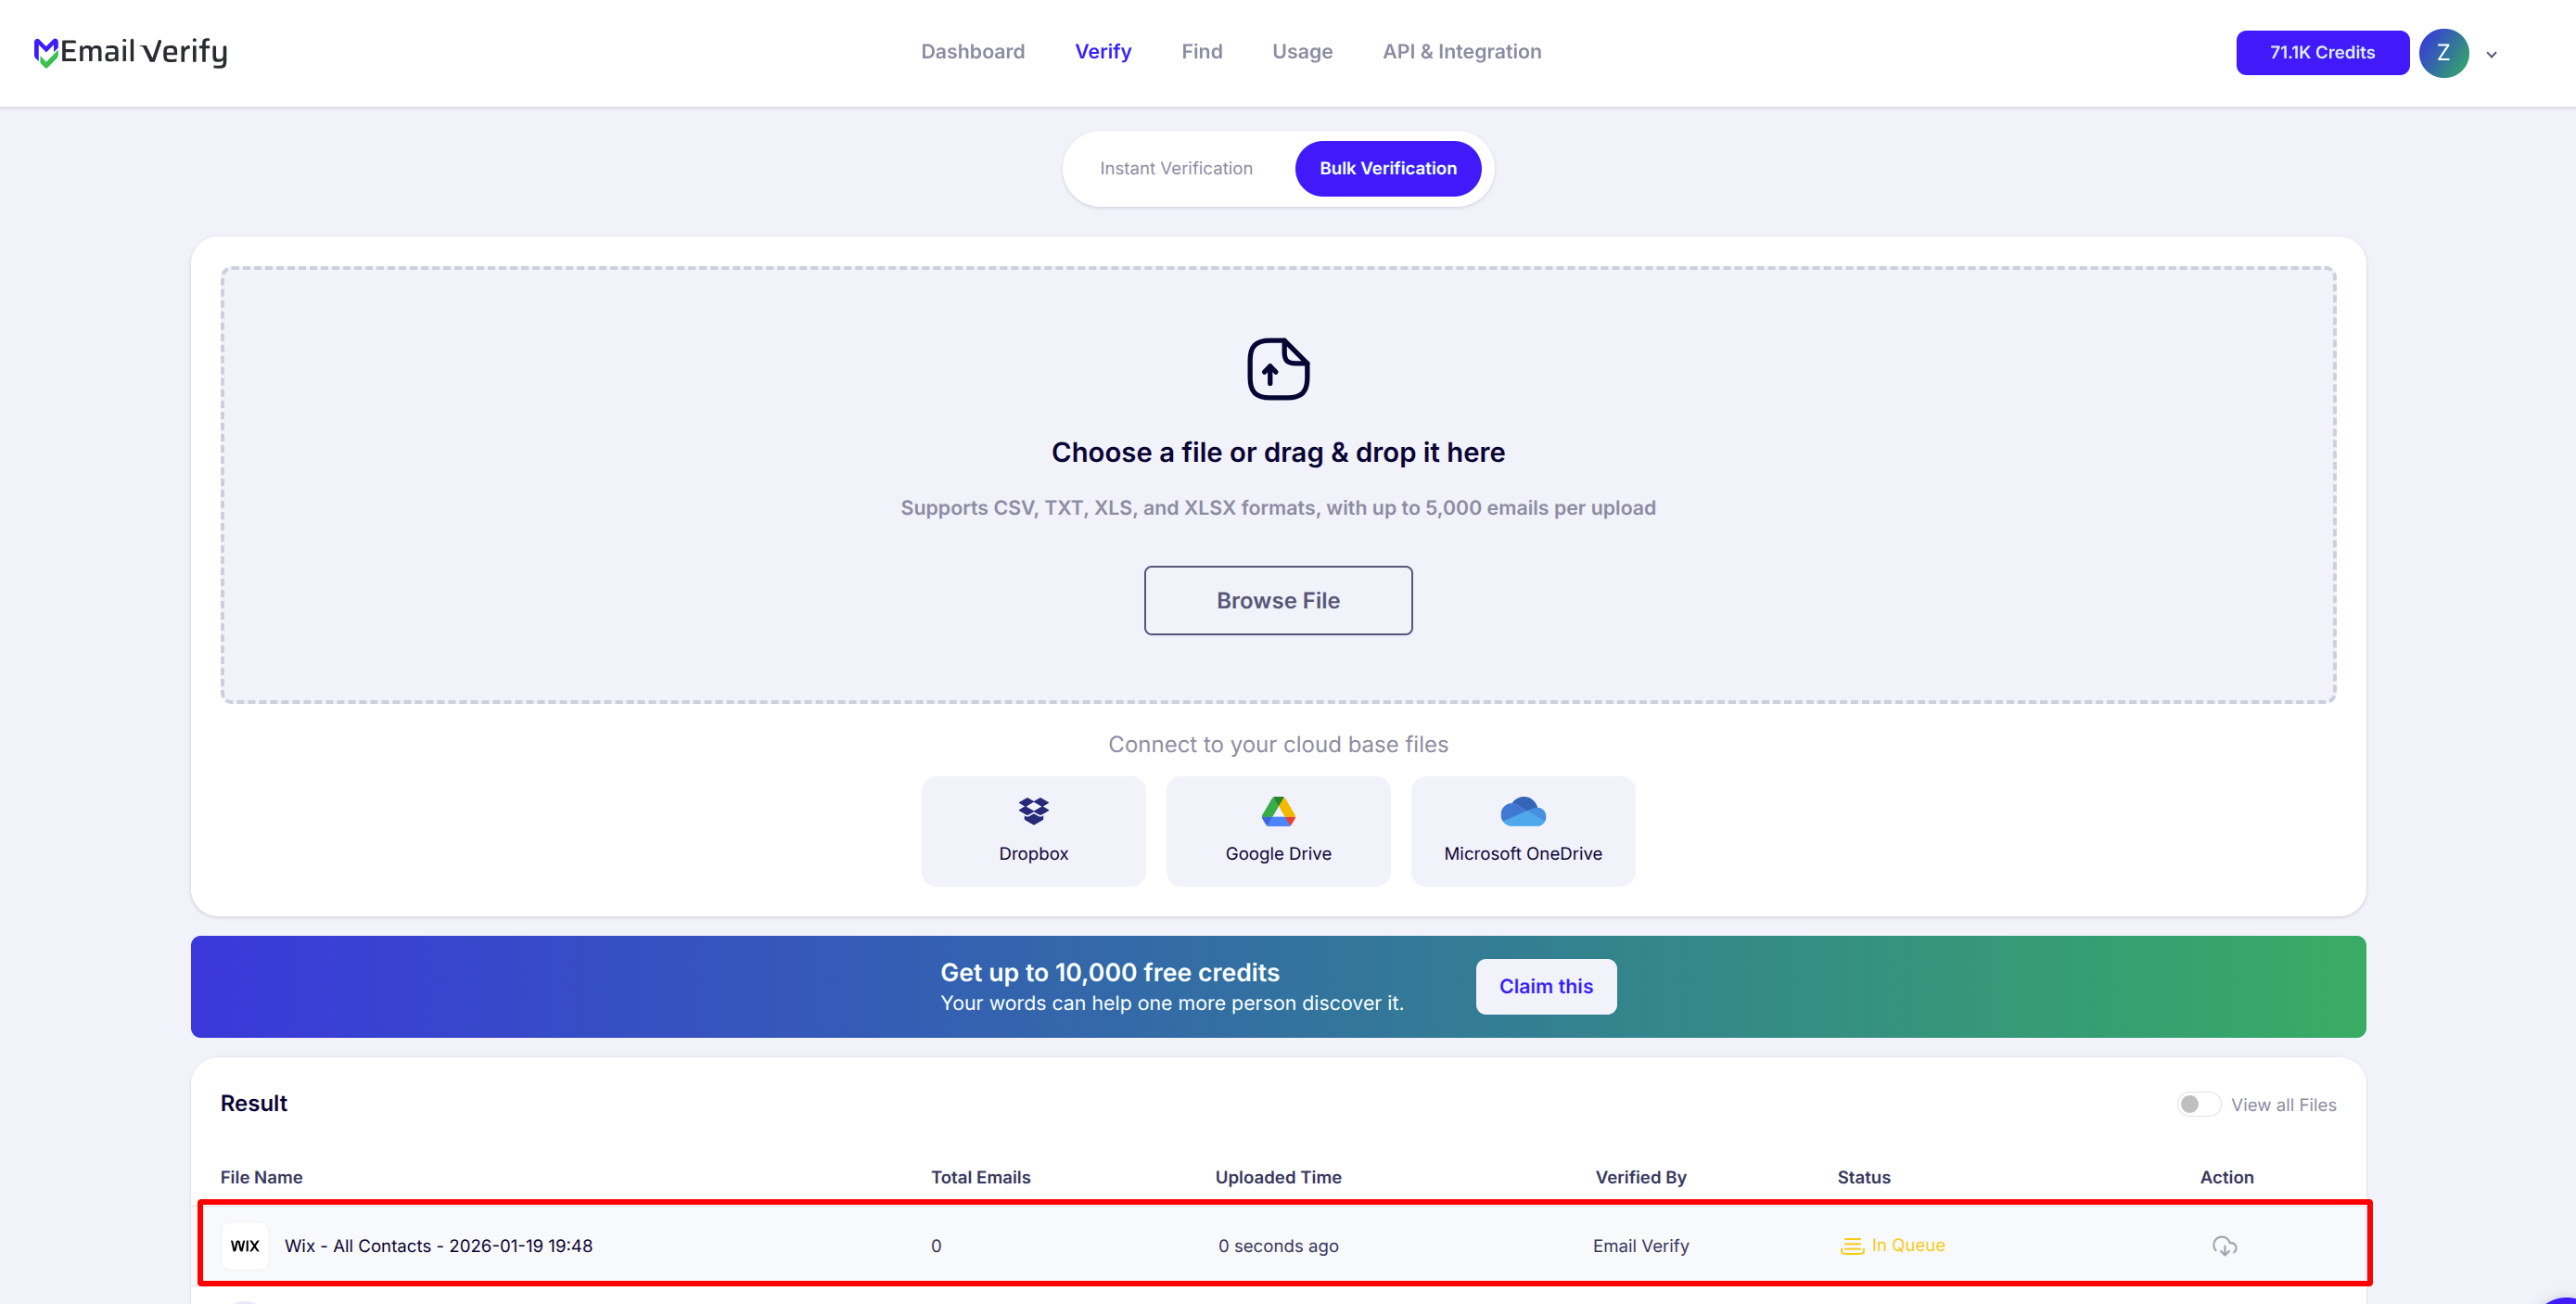
Step 8: Monitor Verification Progress
After starting the verification, you will be directed to the Bulk Verification page, where you can track the status of your selected contacts. EmailVerify.io will also send you an email notification once the process is complete, so you don’t have to wait on the page.
Step 9: Review Verified Results in Wix
After verification, three new fields are added to each contact:
- EV_Status: Overall result (valid, invalid, catch-all)
- EV_SubStatus: Detailed explanation
- EV_Validation_Timestamp: When the contact was verified

These fields make it easy to filter, segment, and take action on contacts without touching your existing Wix data.
Troubleshooting & Tips
If you run into any issues or want to get the most out of your integration, keep these simple tips in mind:
- Make sure the correct Wix site is selected and permissions are granted.
- Confirm your EmailVerify.io account has enough verification credits.
- Refresh or reconnect the integration if contacts do not appear.
- Allow extra processing time for large contact lists.
- Test with a smaller batch first to ensure everything works correctly.
- Use the EV fields to segment and manage your campaigns more effectively.
Ensure Your Campaigns Always Reach Real Subscribers!
Connect EmailVerify.io to Wix now and start verifying your contacts today.